DIY parametric wall art: plans to production
Watching Youtube woodworking videos is my guilty pleasure. But until now, I'd had little opportunity to make something myself: no space for a workshop in my small apartment and a busy family/work schedule haven't really allowed it.
Recently on summer vacation I had an idea though: I could outsource most of the difficult parts of production, if I can come up with a clever enough design. Parametric wall art was a great fit: the cutting can be entirely outsourced to a CNC/laser service, leaving only the finishing and assembly to me – something I could easily do in a spare bedroom.
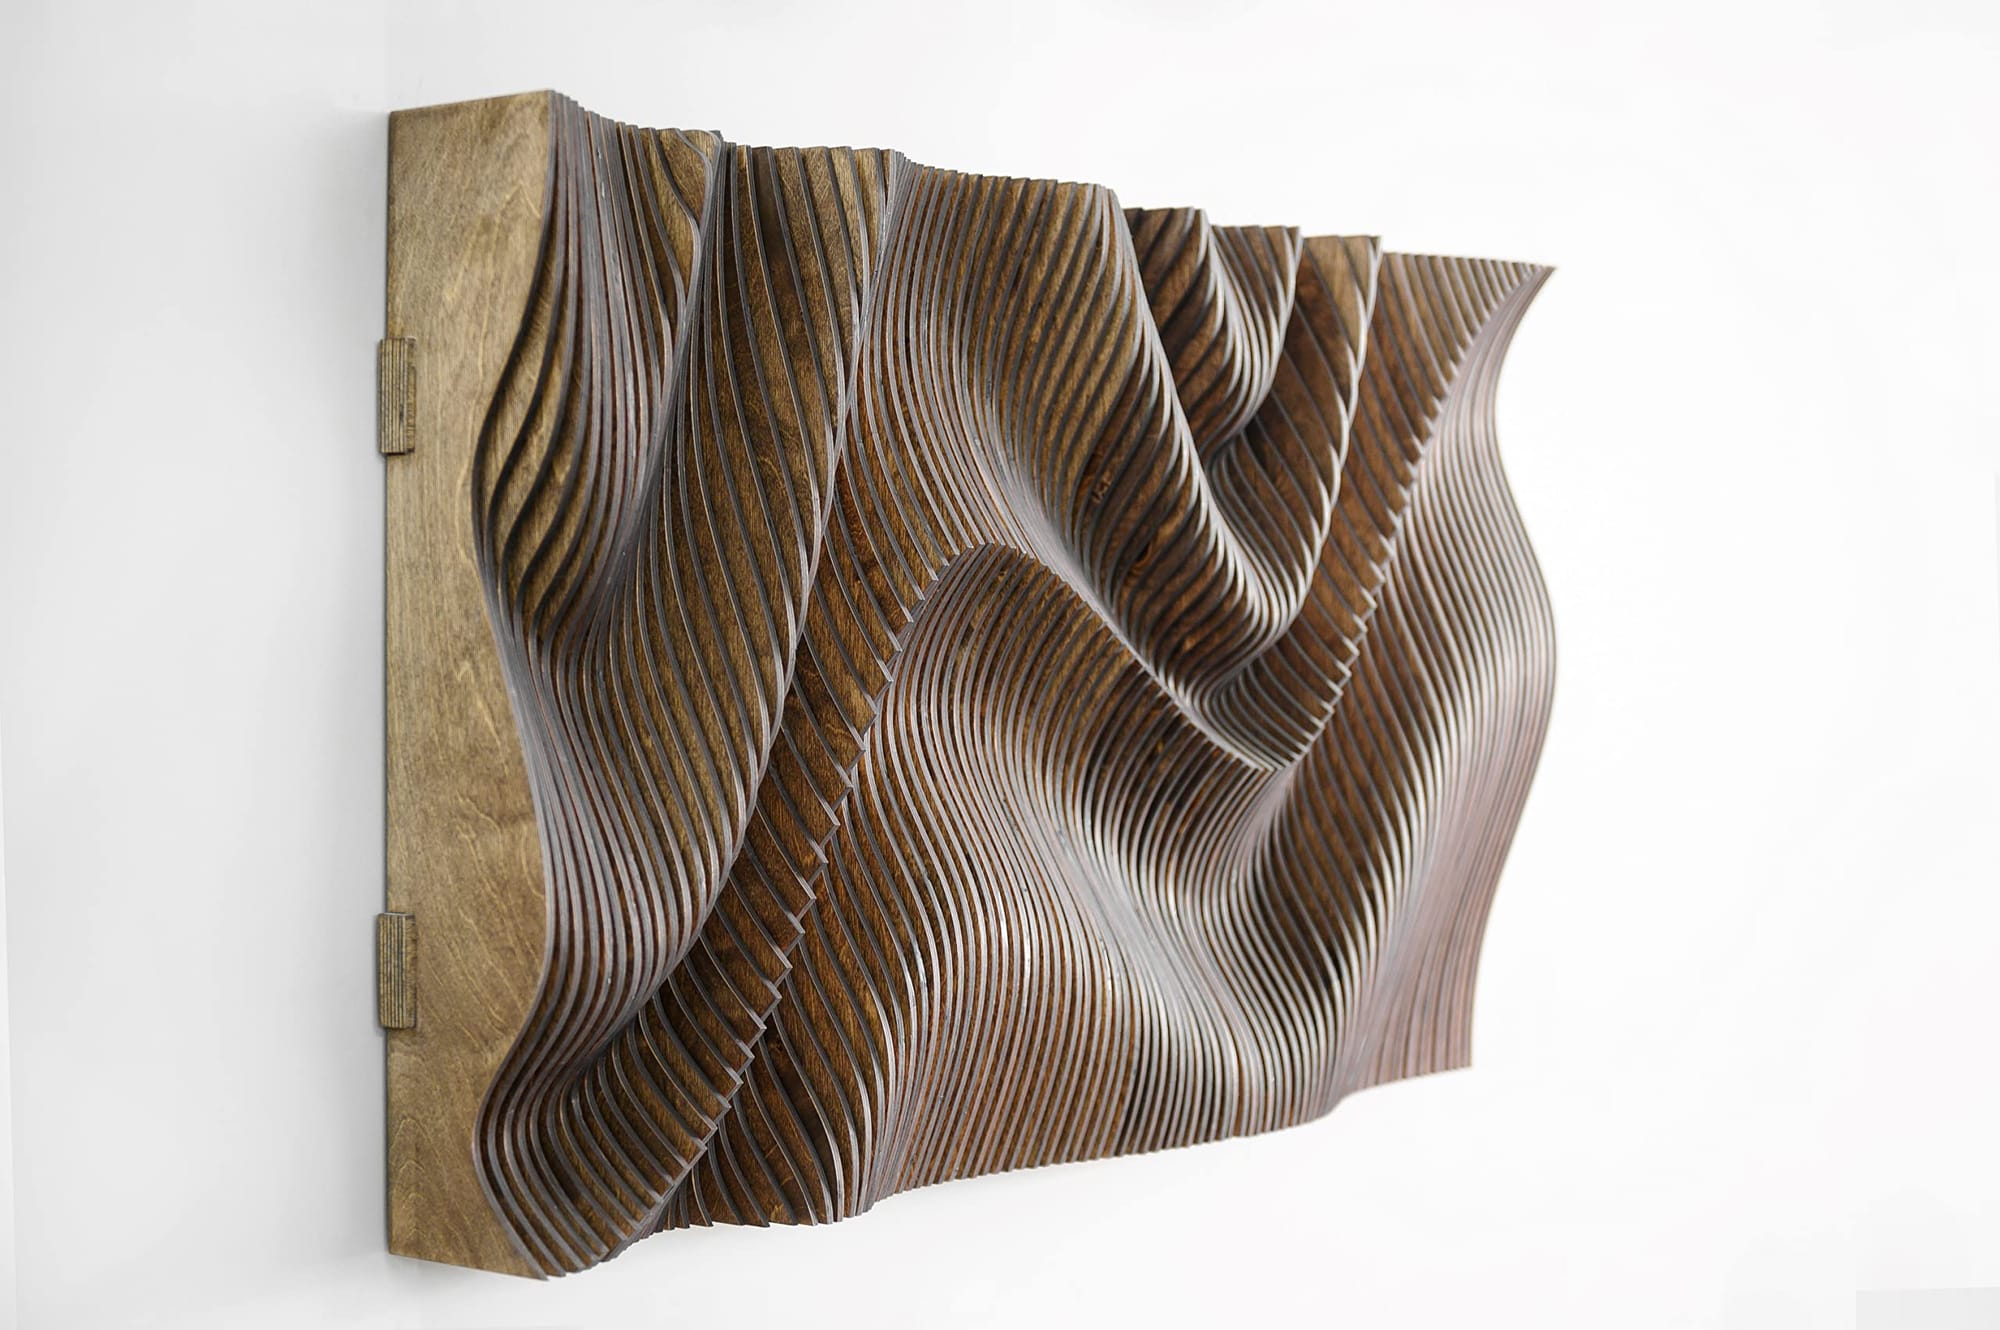
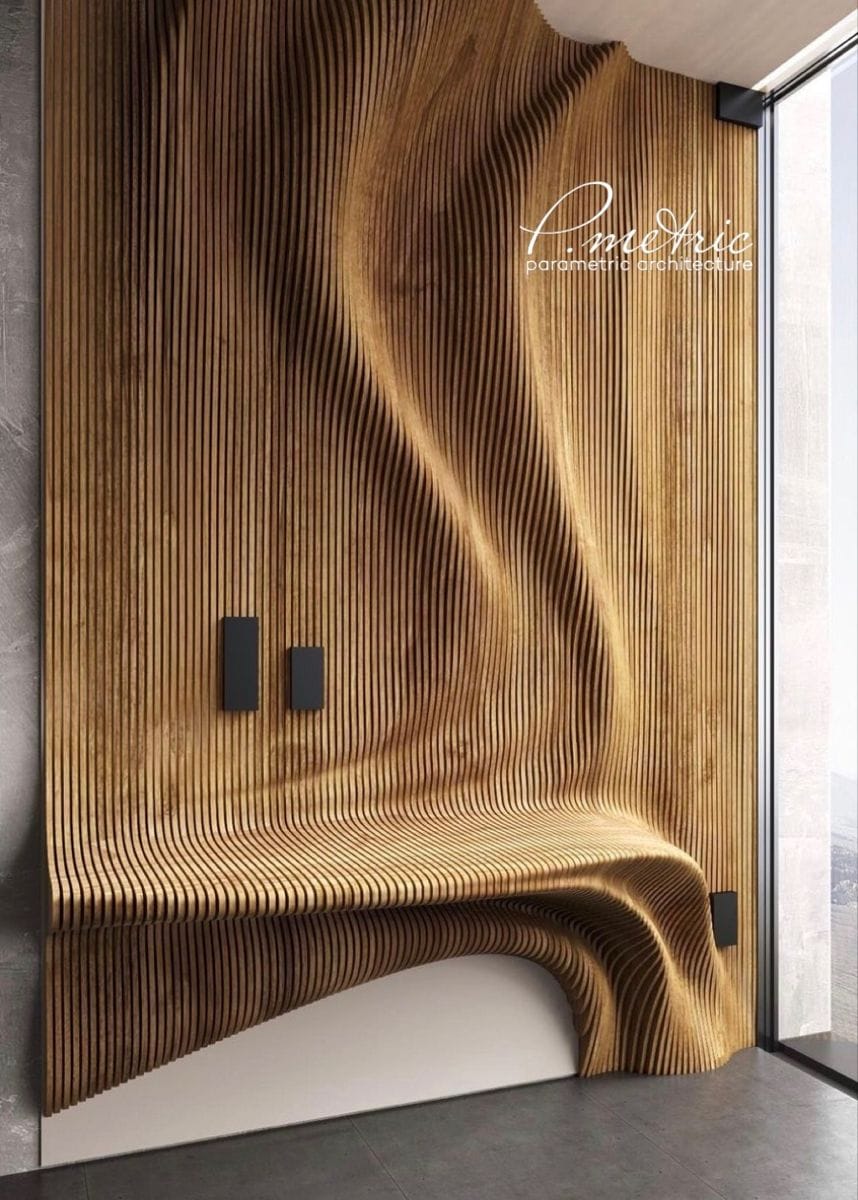
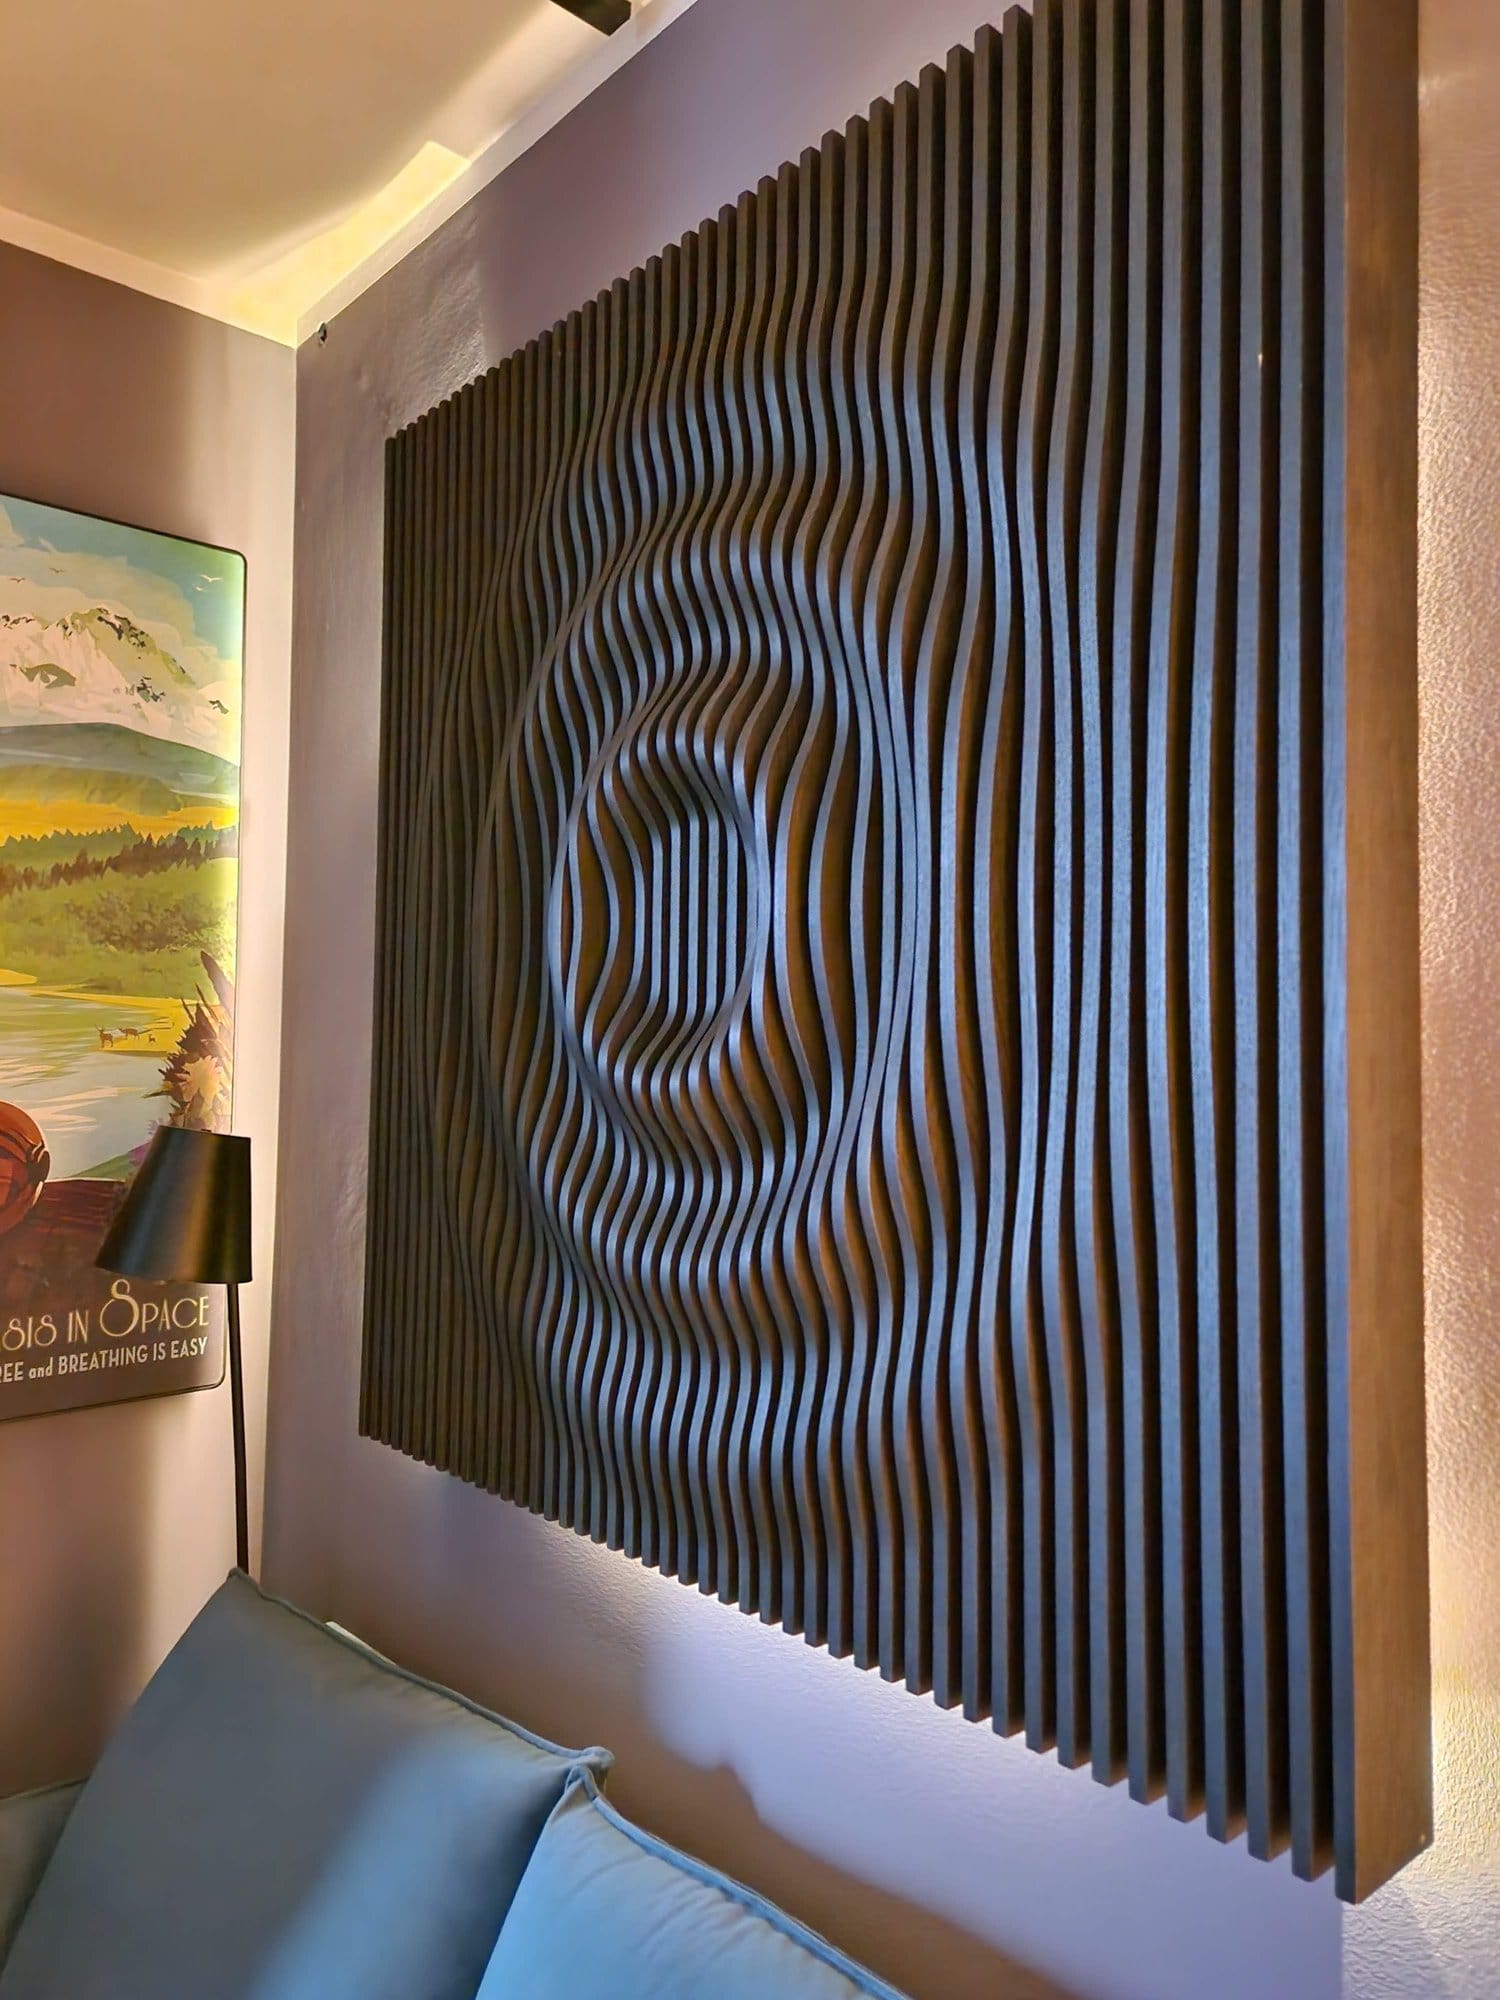
Examples of parametric wall art
But the "parametric" part of this style of art seemed a bit boring to me. Instead of using a geometric form, could I make my own? With zero 3D modelling skills it's a stretch, but one thing I can do: write code. So I wrote a piece of software to take any image, and output a list of cuts I can send to the CNC shop.
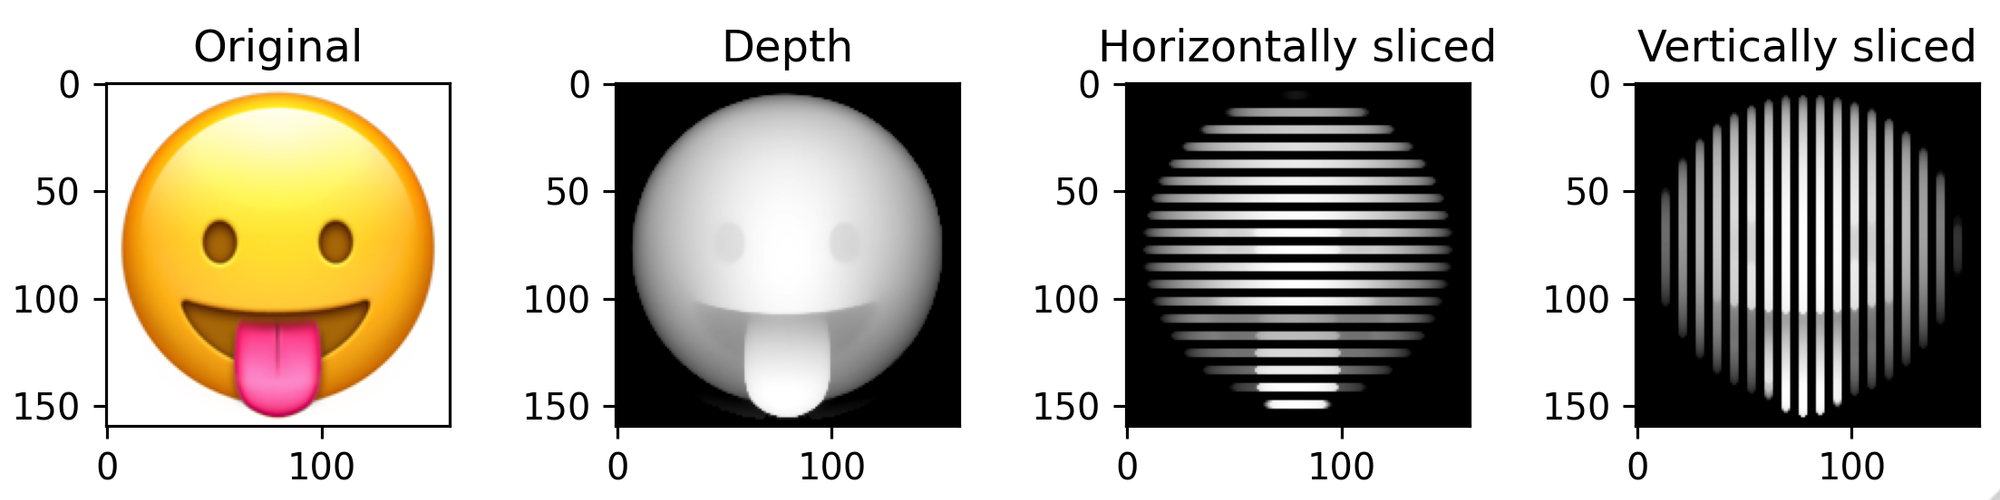
Here's how it works. I crop an image to the section I want to turn into a 3D piece, and estimate its depth.

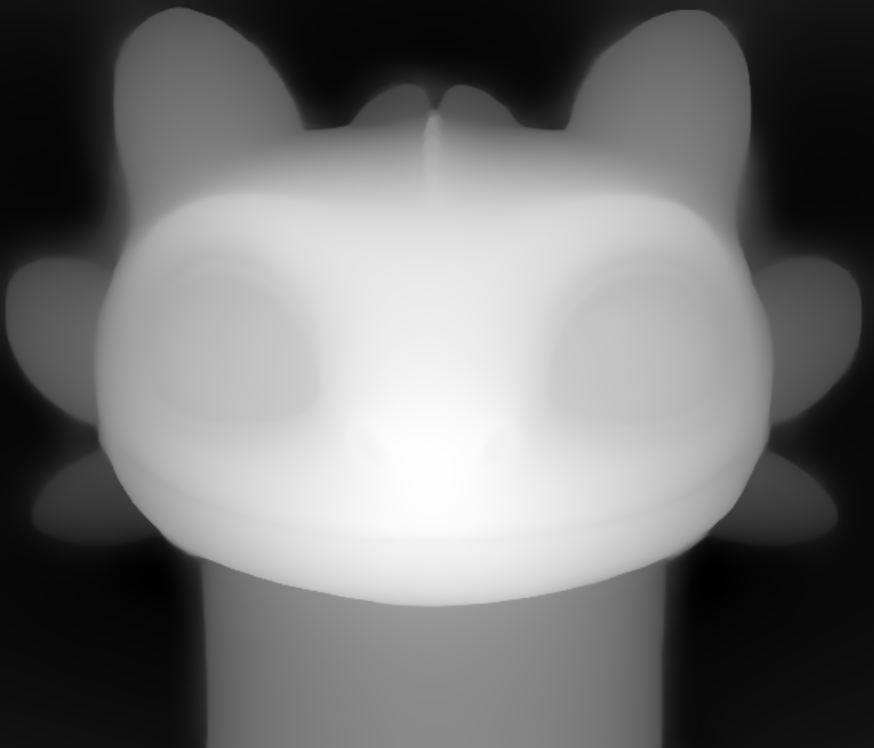
Left: original image (generated with DALL-E). Right: depth map for the dragon's head.
From there, I slice it into pieces, making sure to leave gaps to achieve the style I am going for.
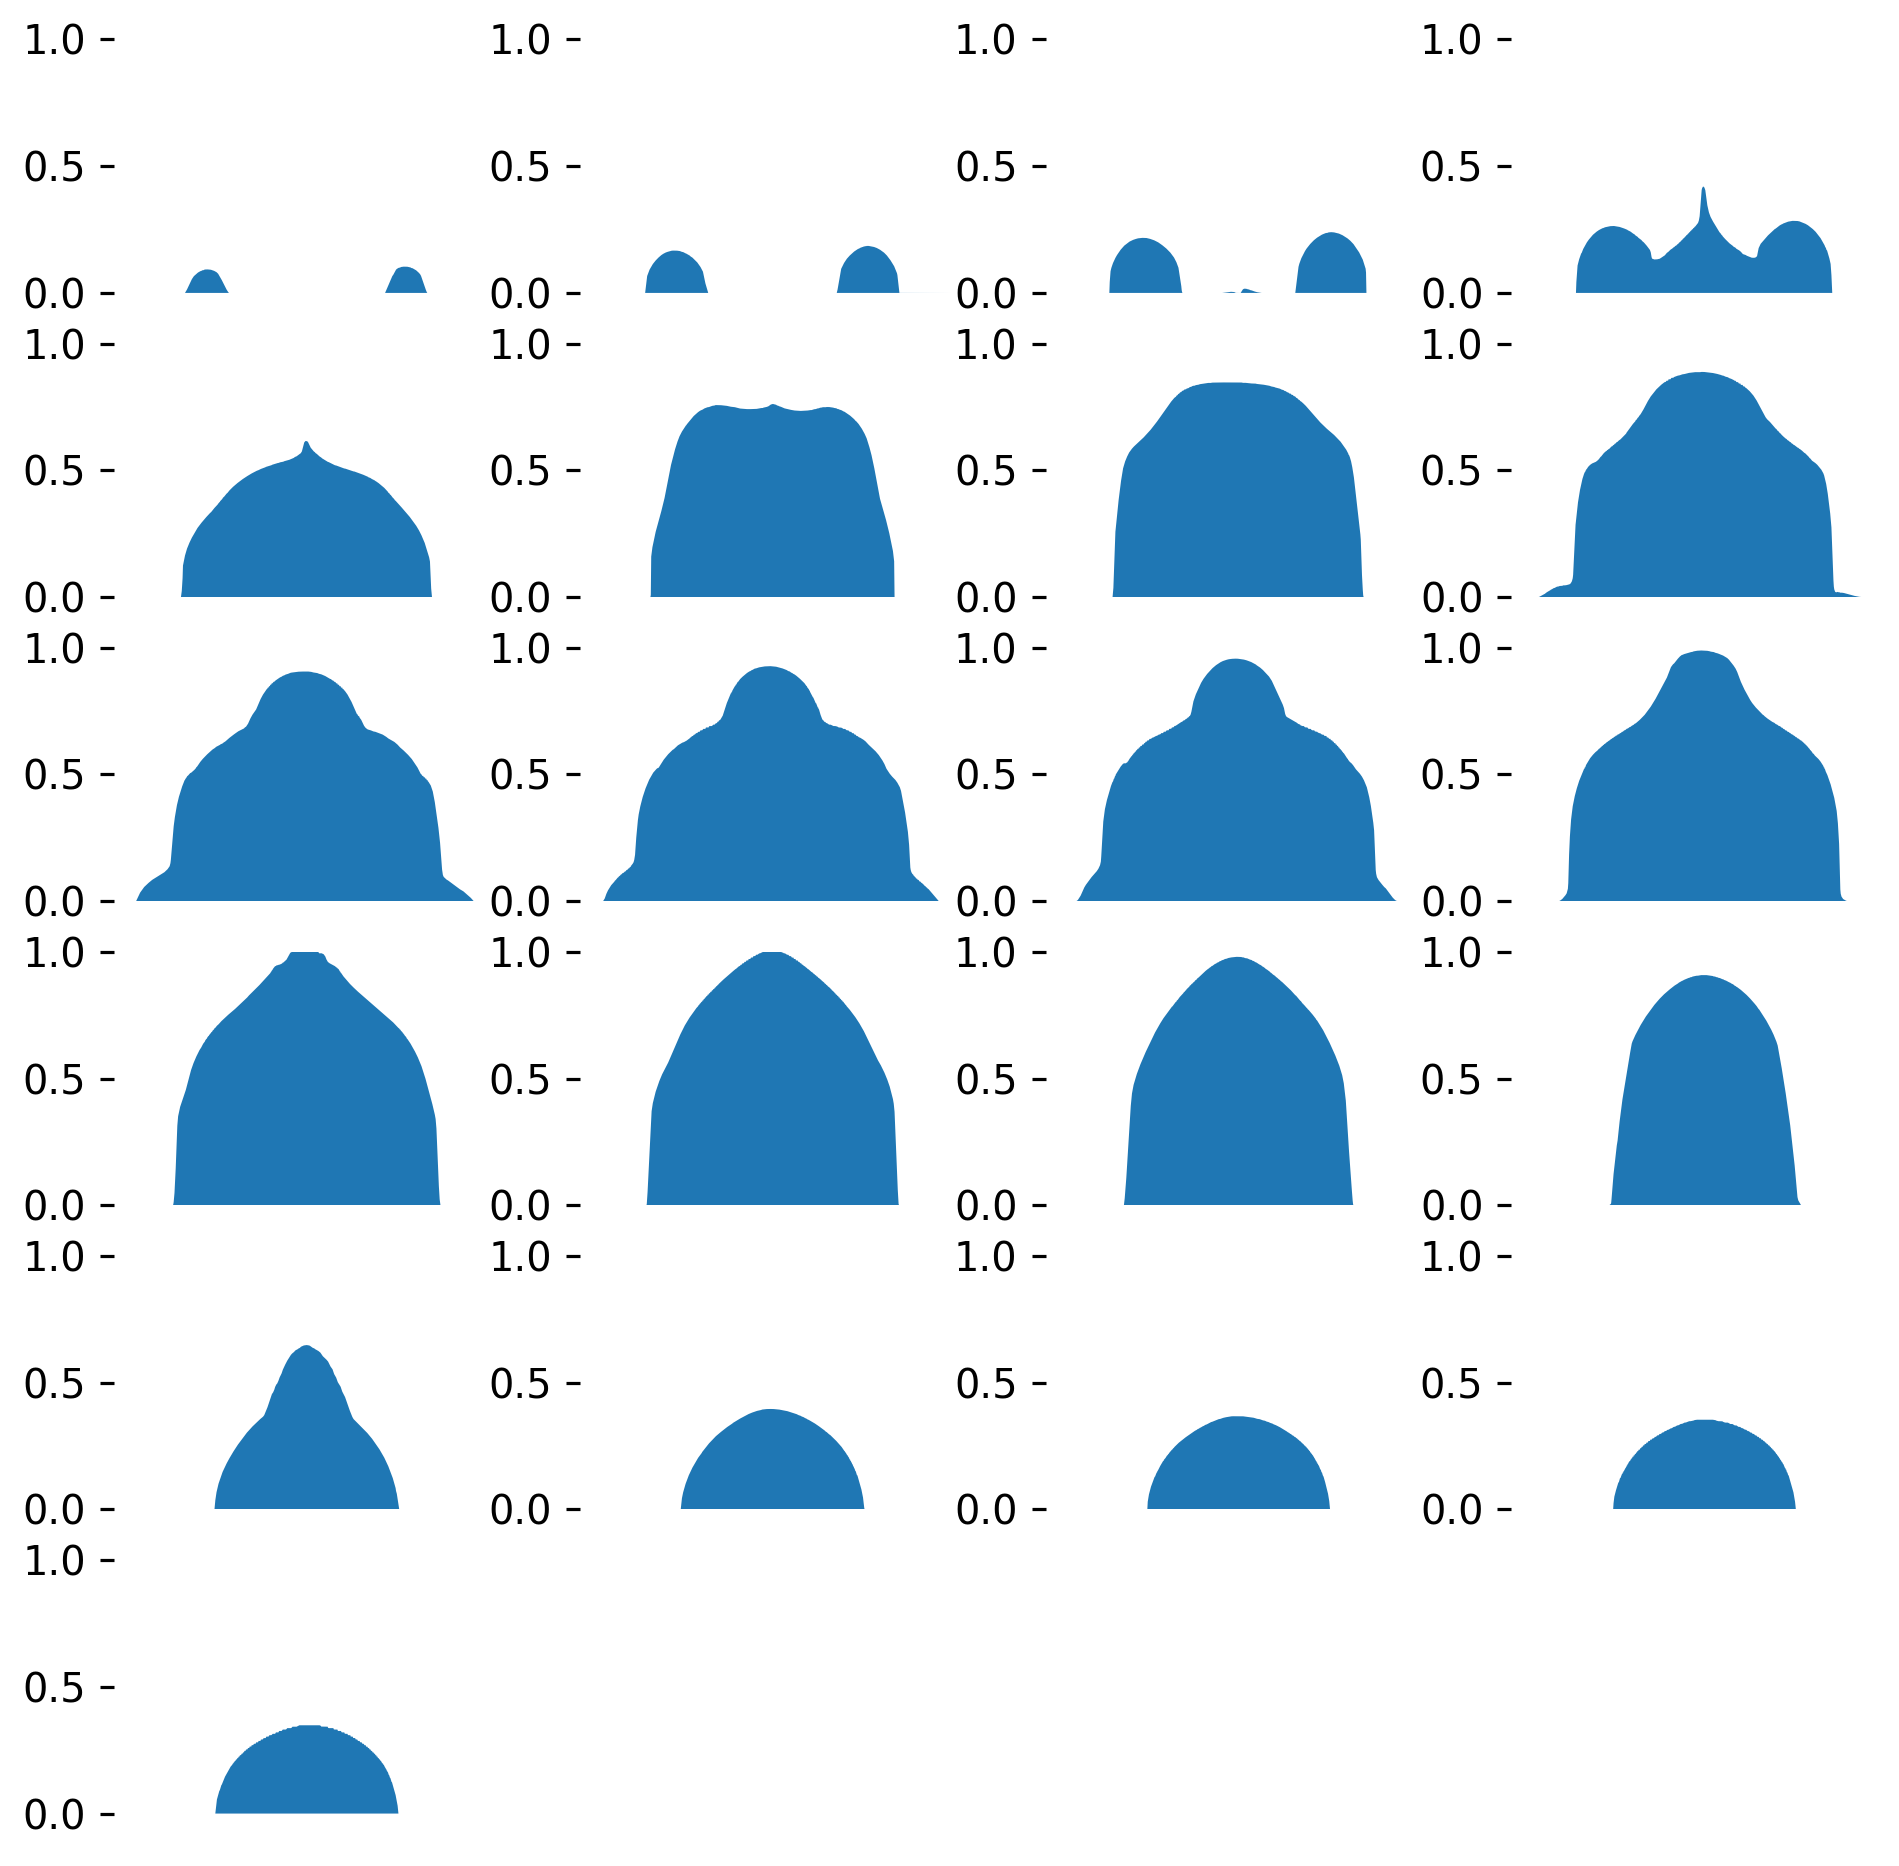
We're not quite there yet, though. The slices are still in raster form, making them awfully inefficient to store and cut. So I vectorize and simplify the shapes for production. And to make it easy to assemble the structure, I add grooves into every slice, and two backing plates with small tongues for better alignment.

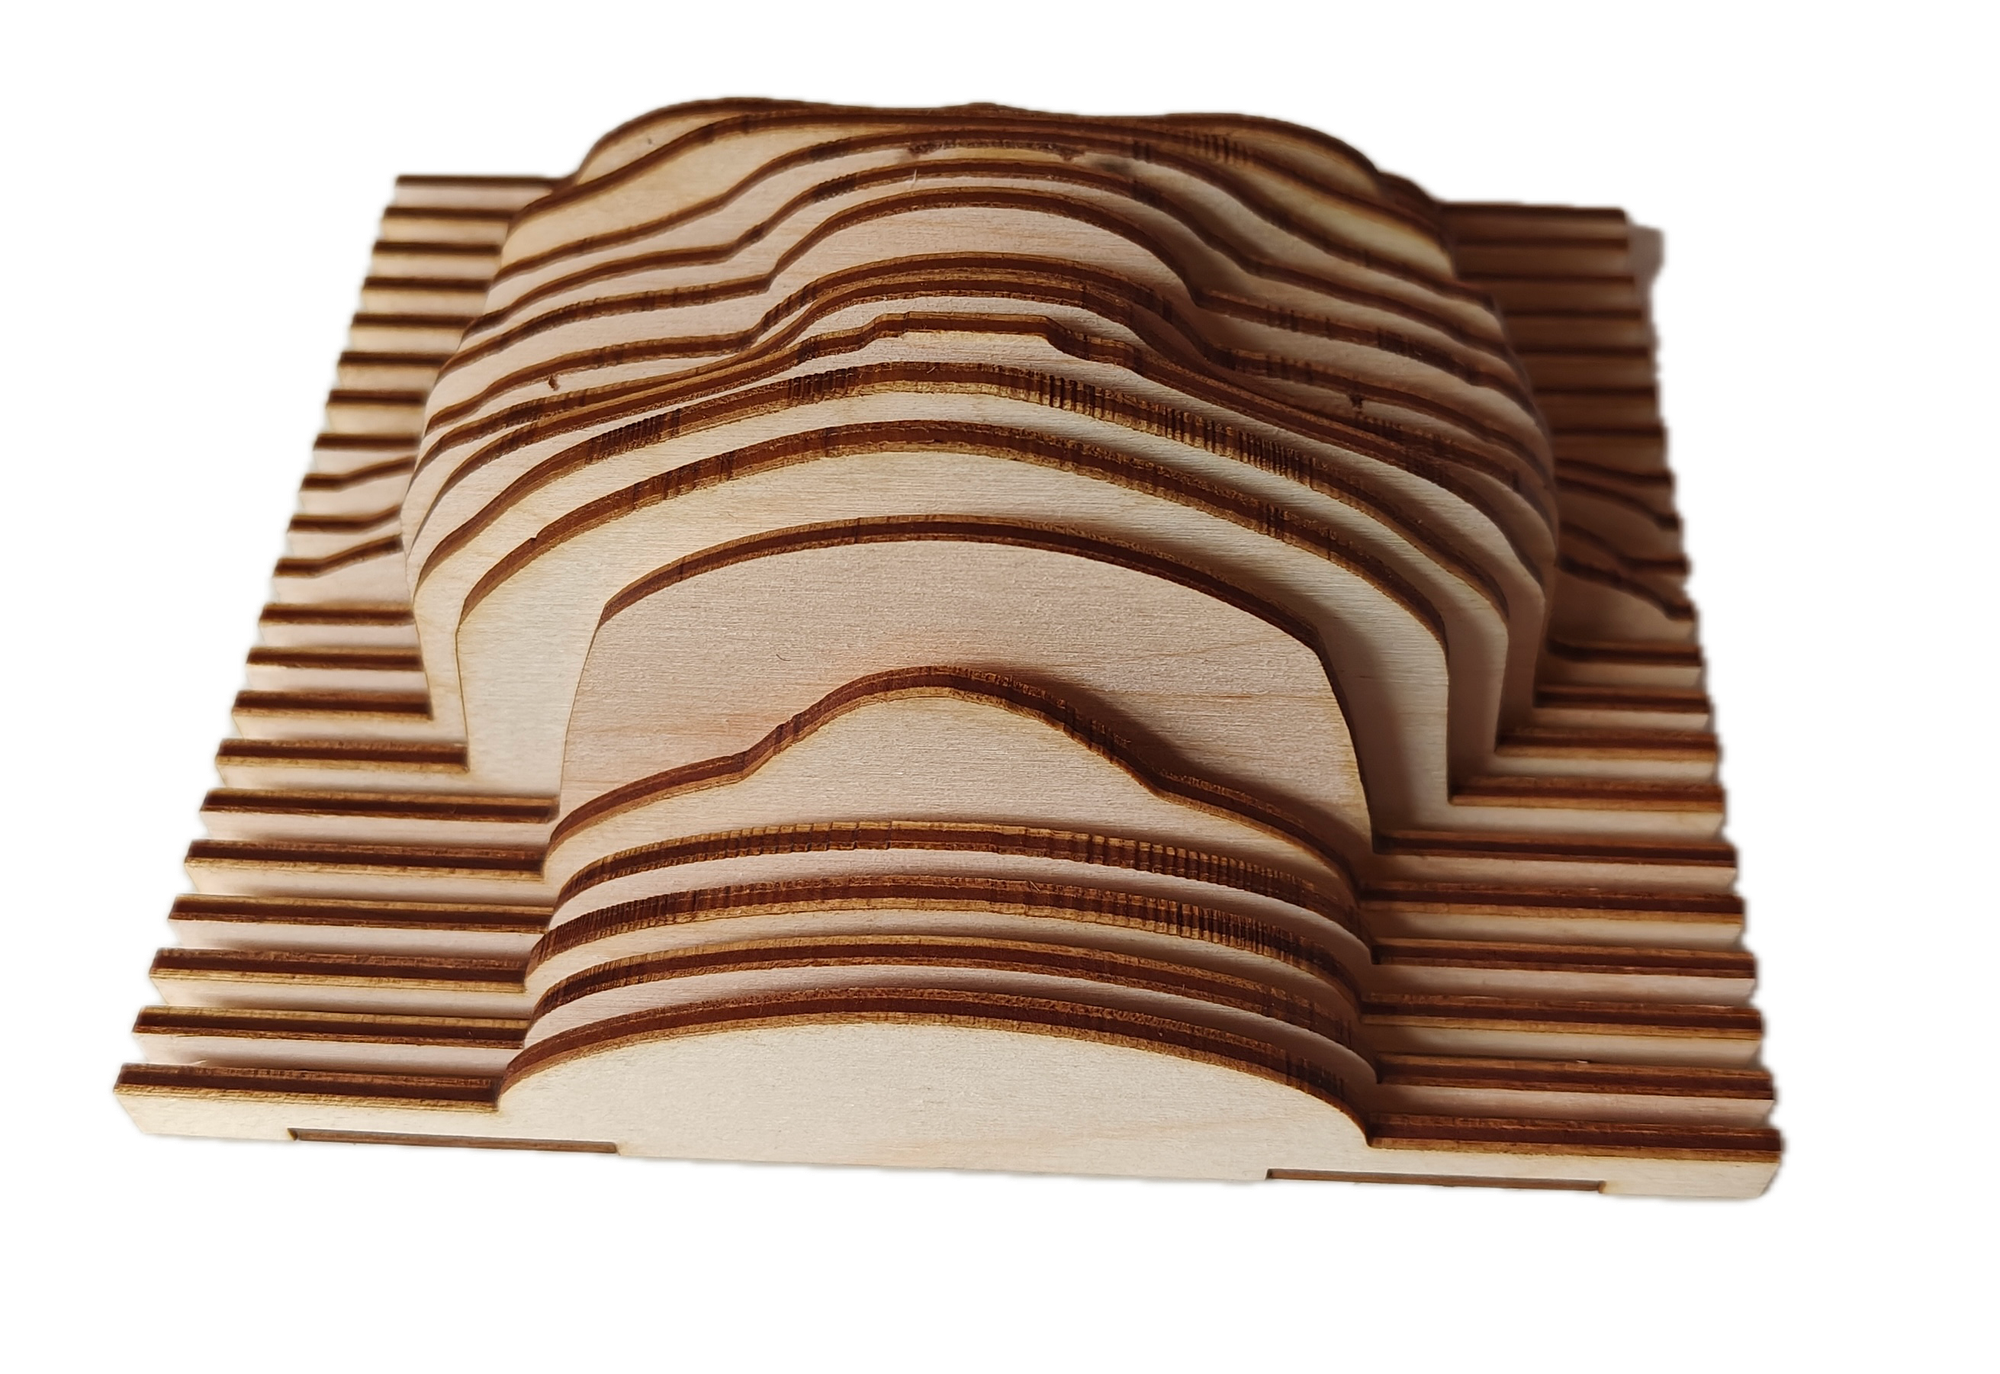
With the cut list ready, I ordered these to be laser-cut from 3mm plywood, at a scale of 150mm vertically at a cost of 60€ in a shop in Tallinn. It's small, but I wanted to keep cost low while experimenting – and I didn't see my wife's approval coming any time soon for a large wall ornament in our apartment. At larger scaleI would CNC this instead, though in this case I'd make small adjustments to account for the constraints of a CNC, and the support needed for a heftier sculpture.
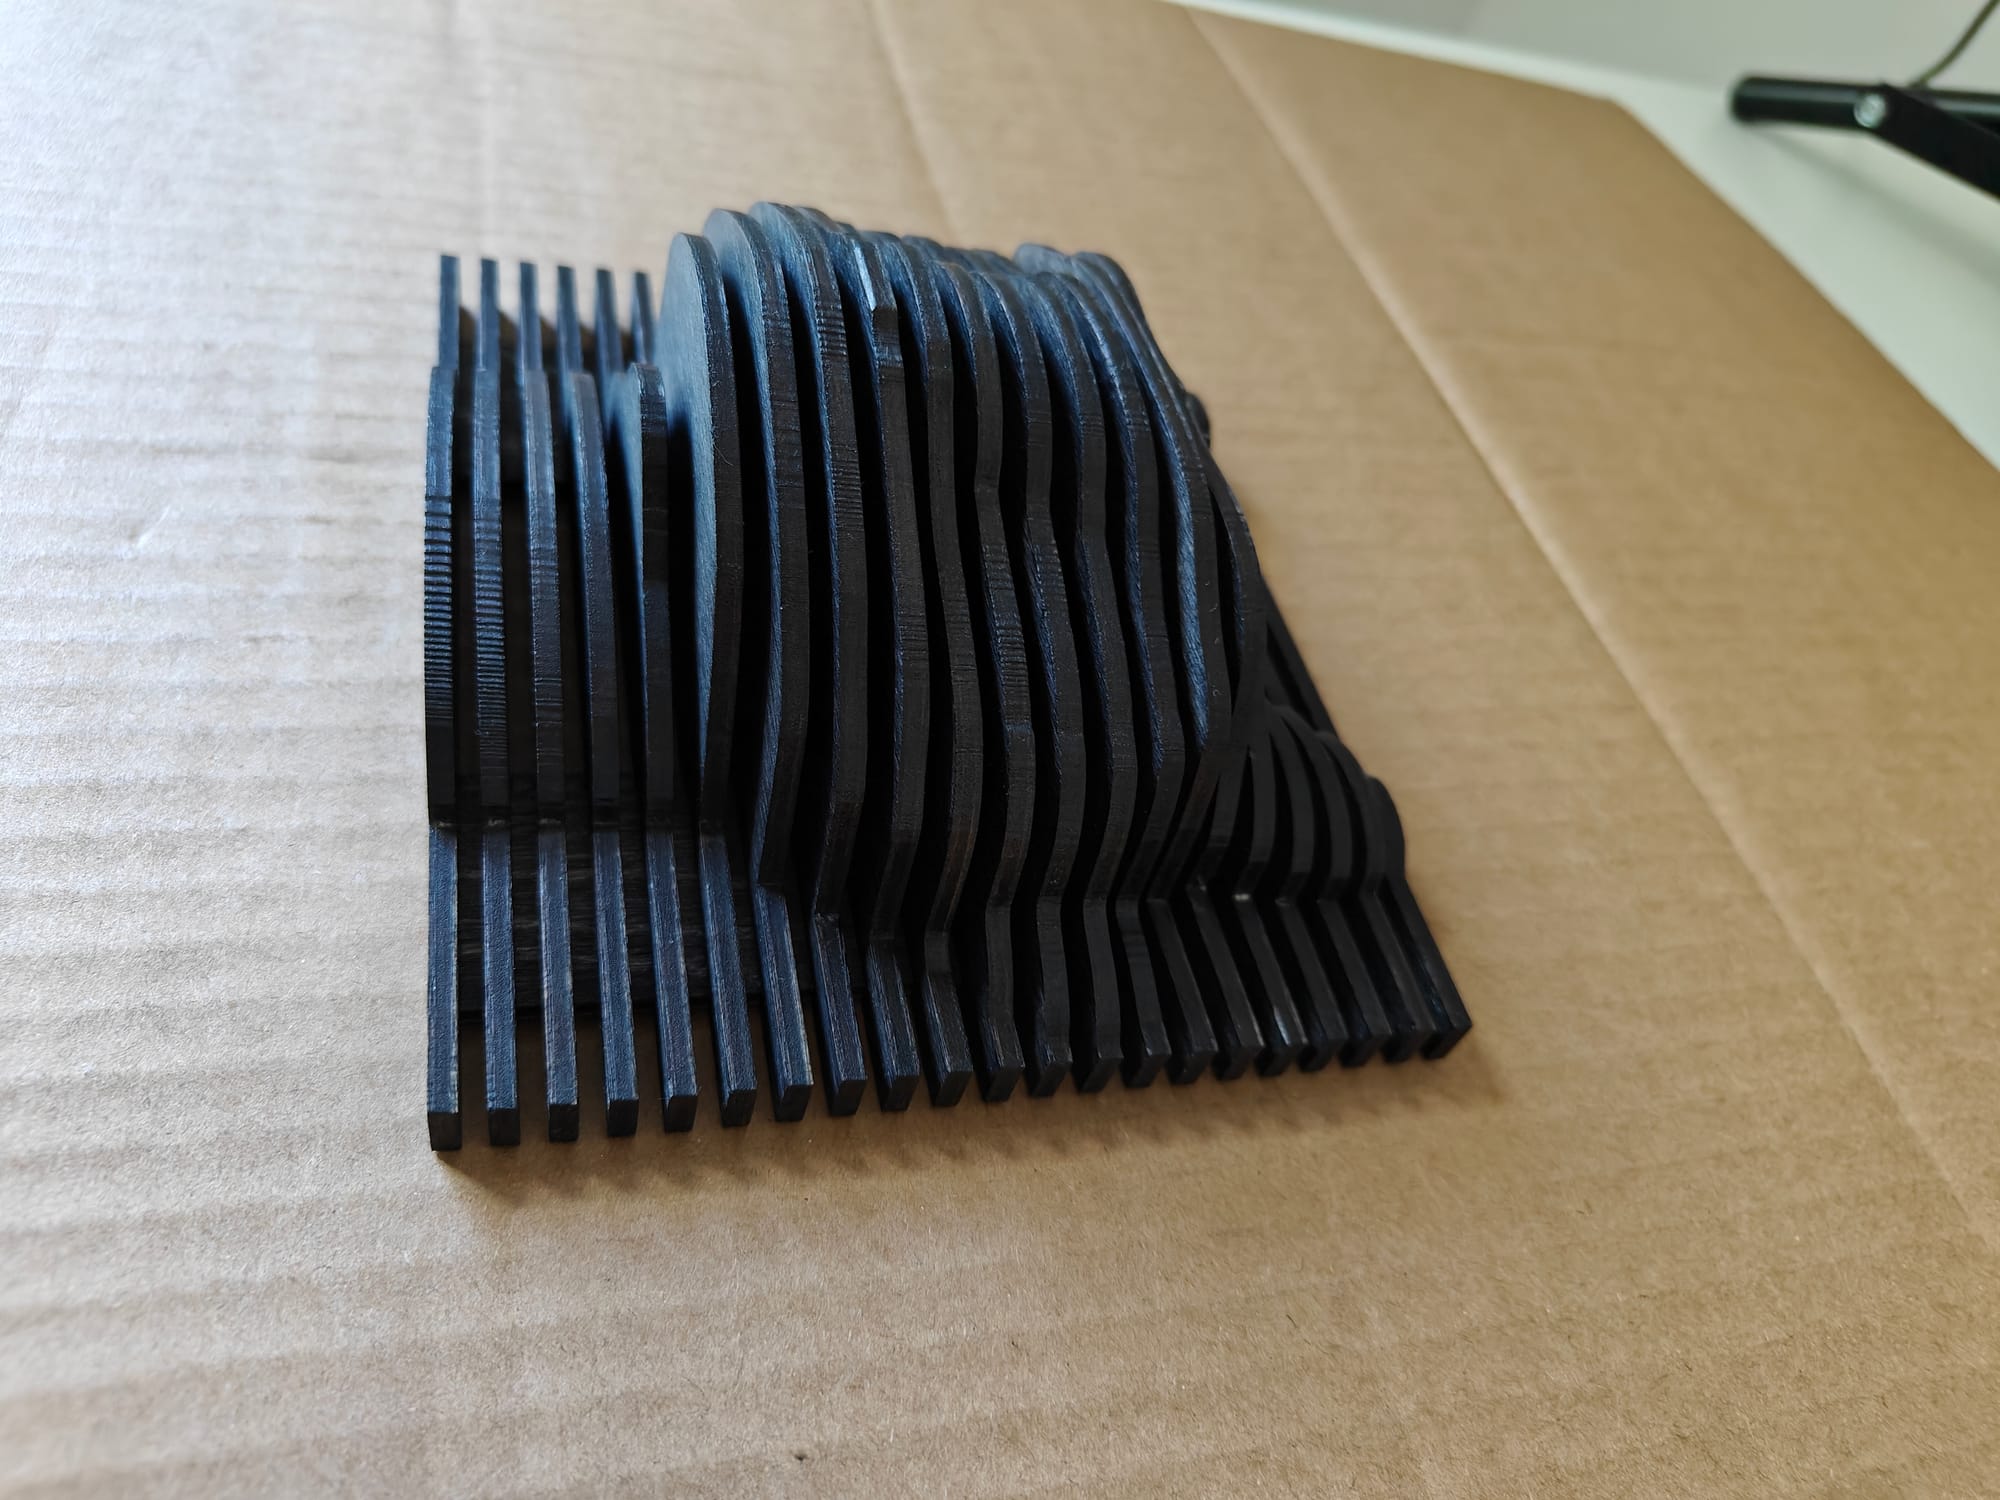
When assembled, here's what the freshly-cut pieces looked like, assembled:
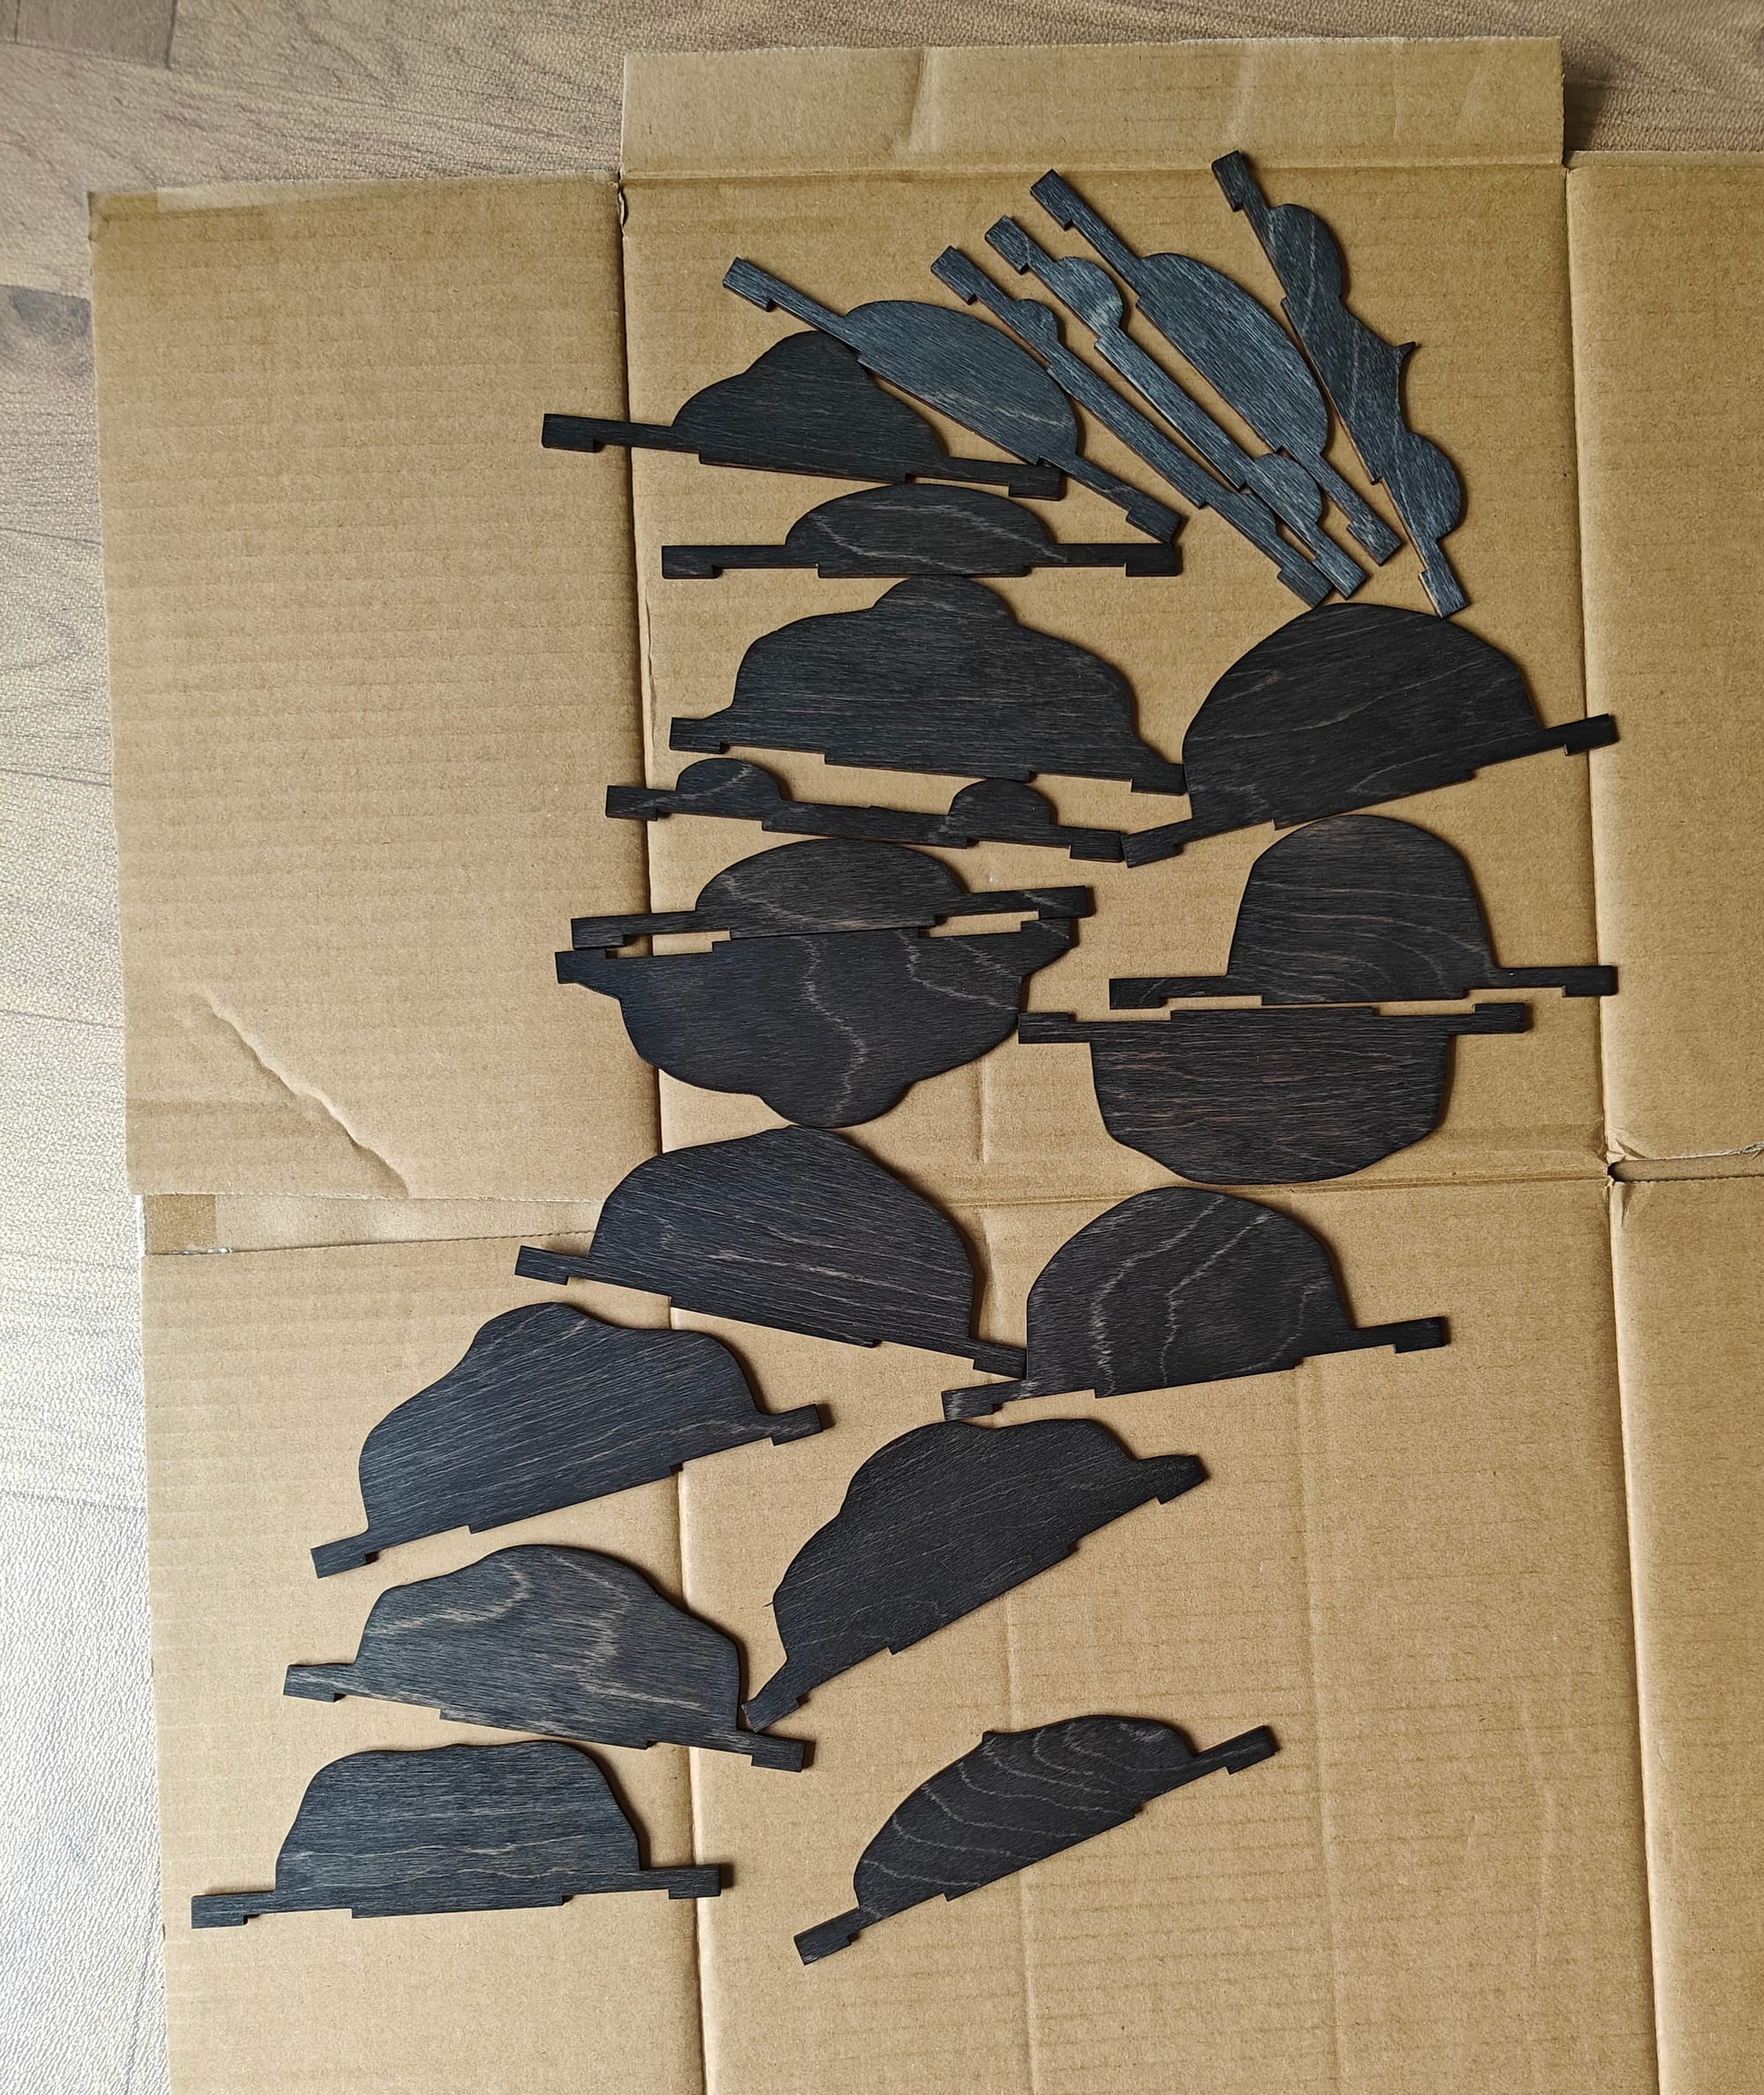
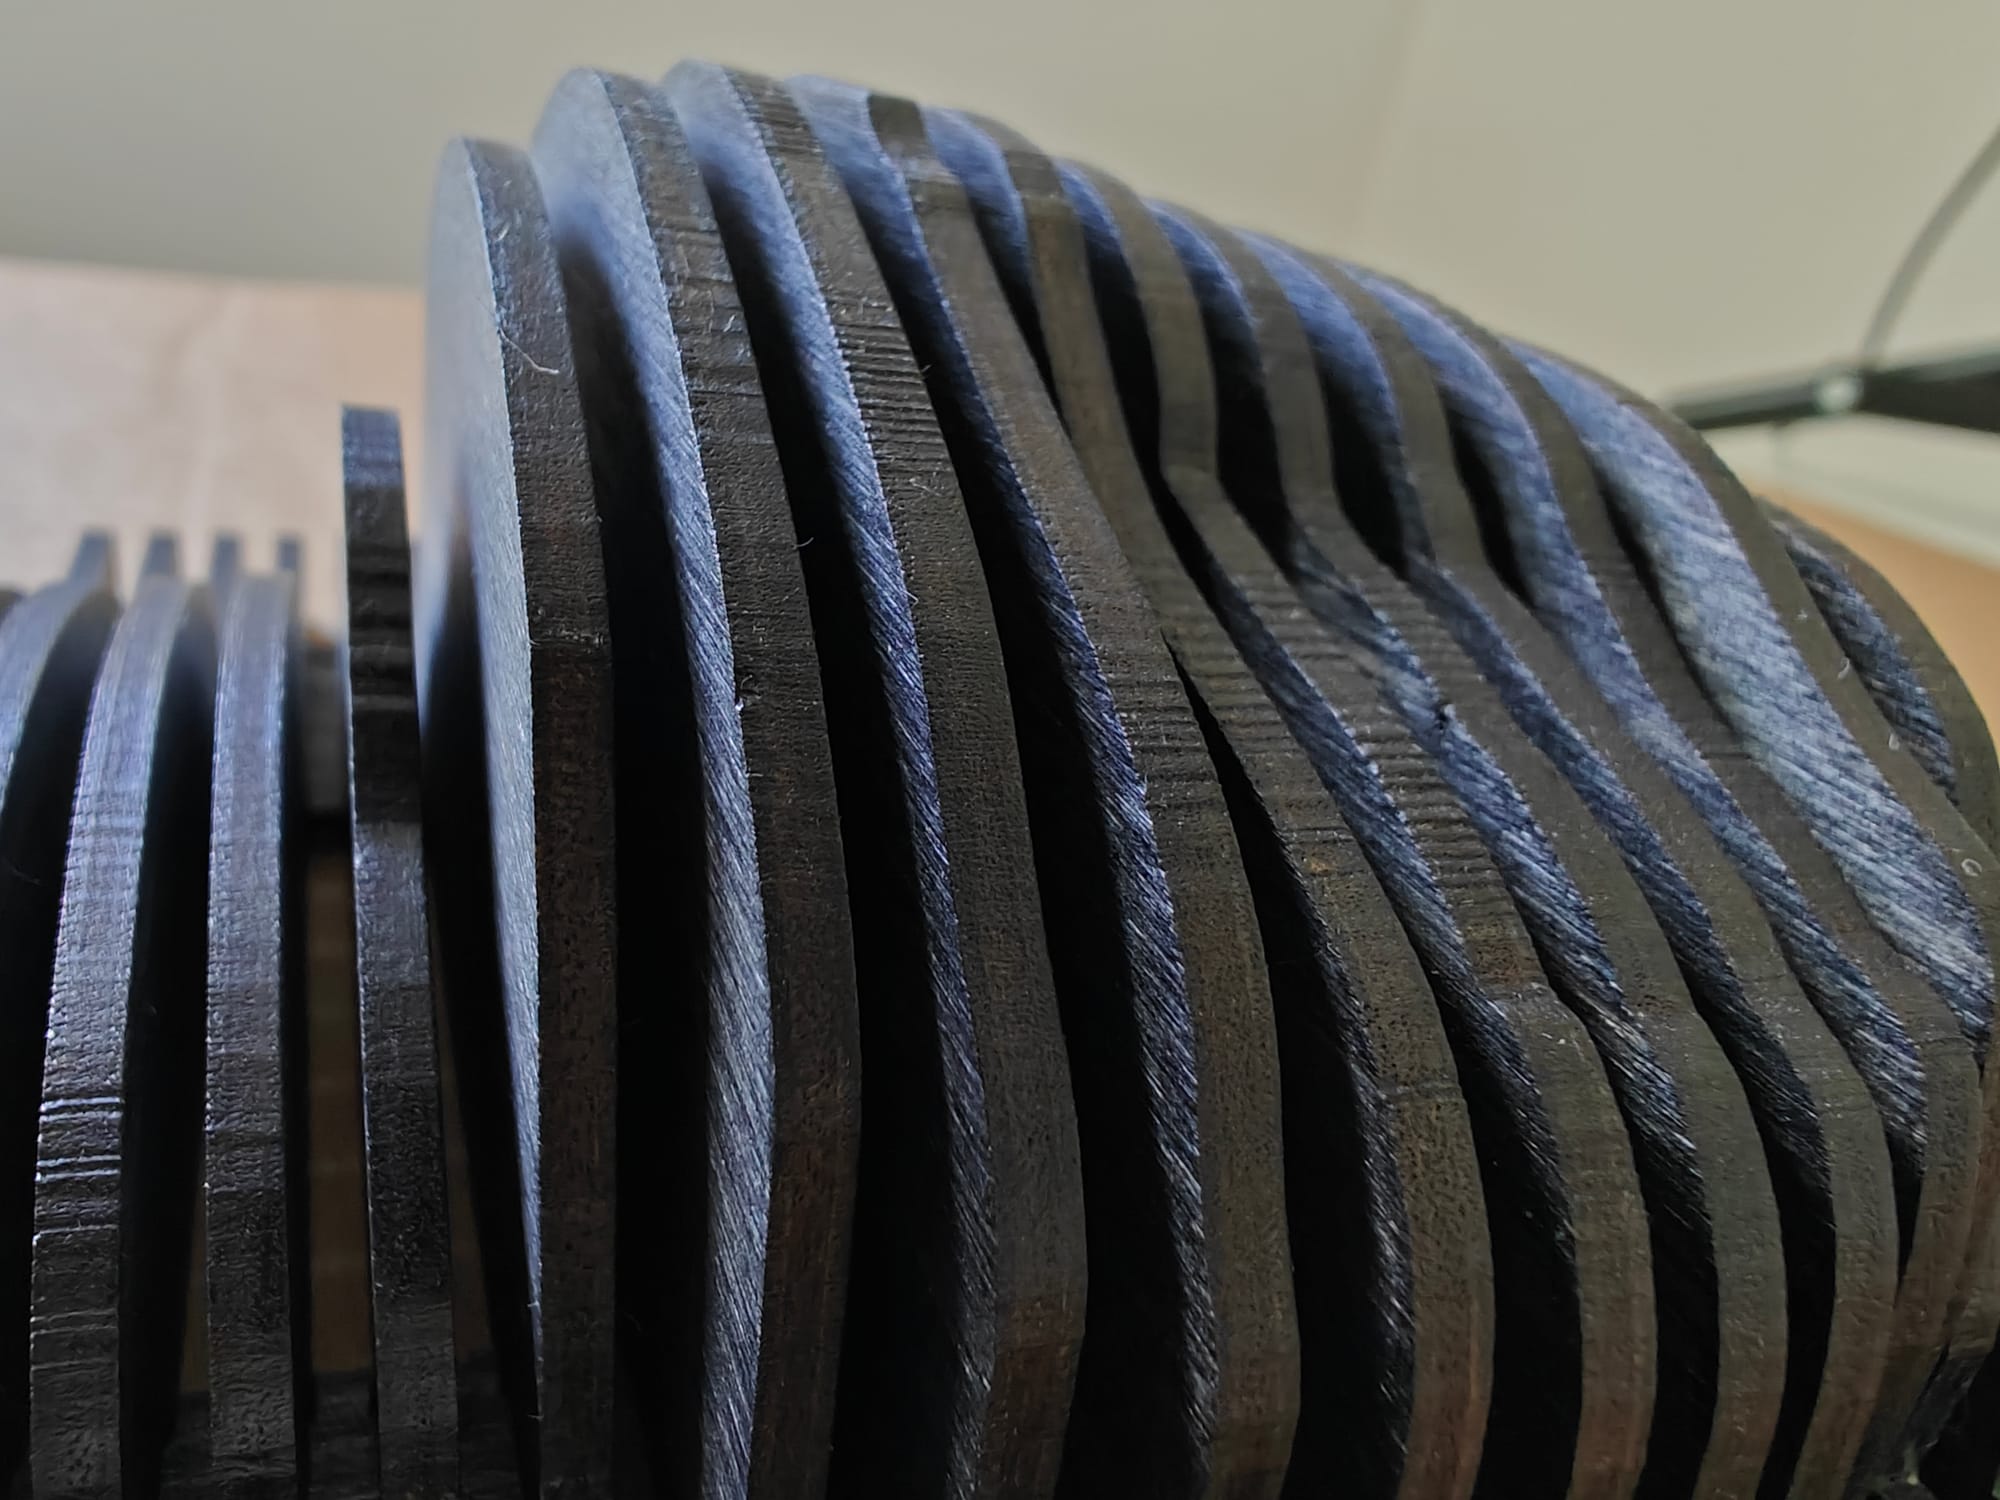
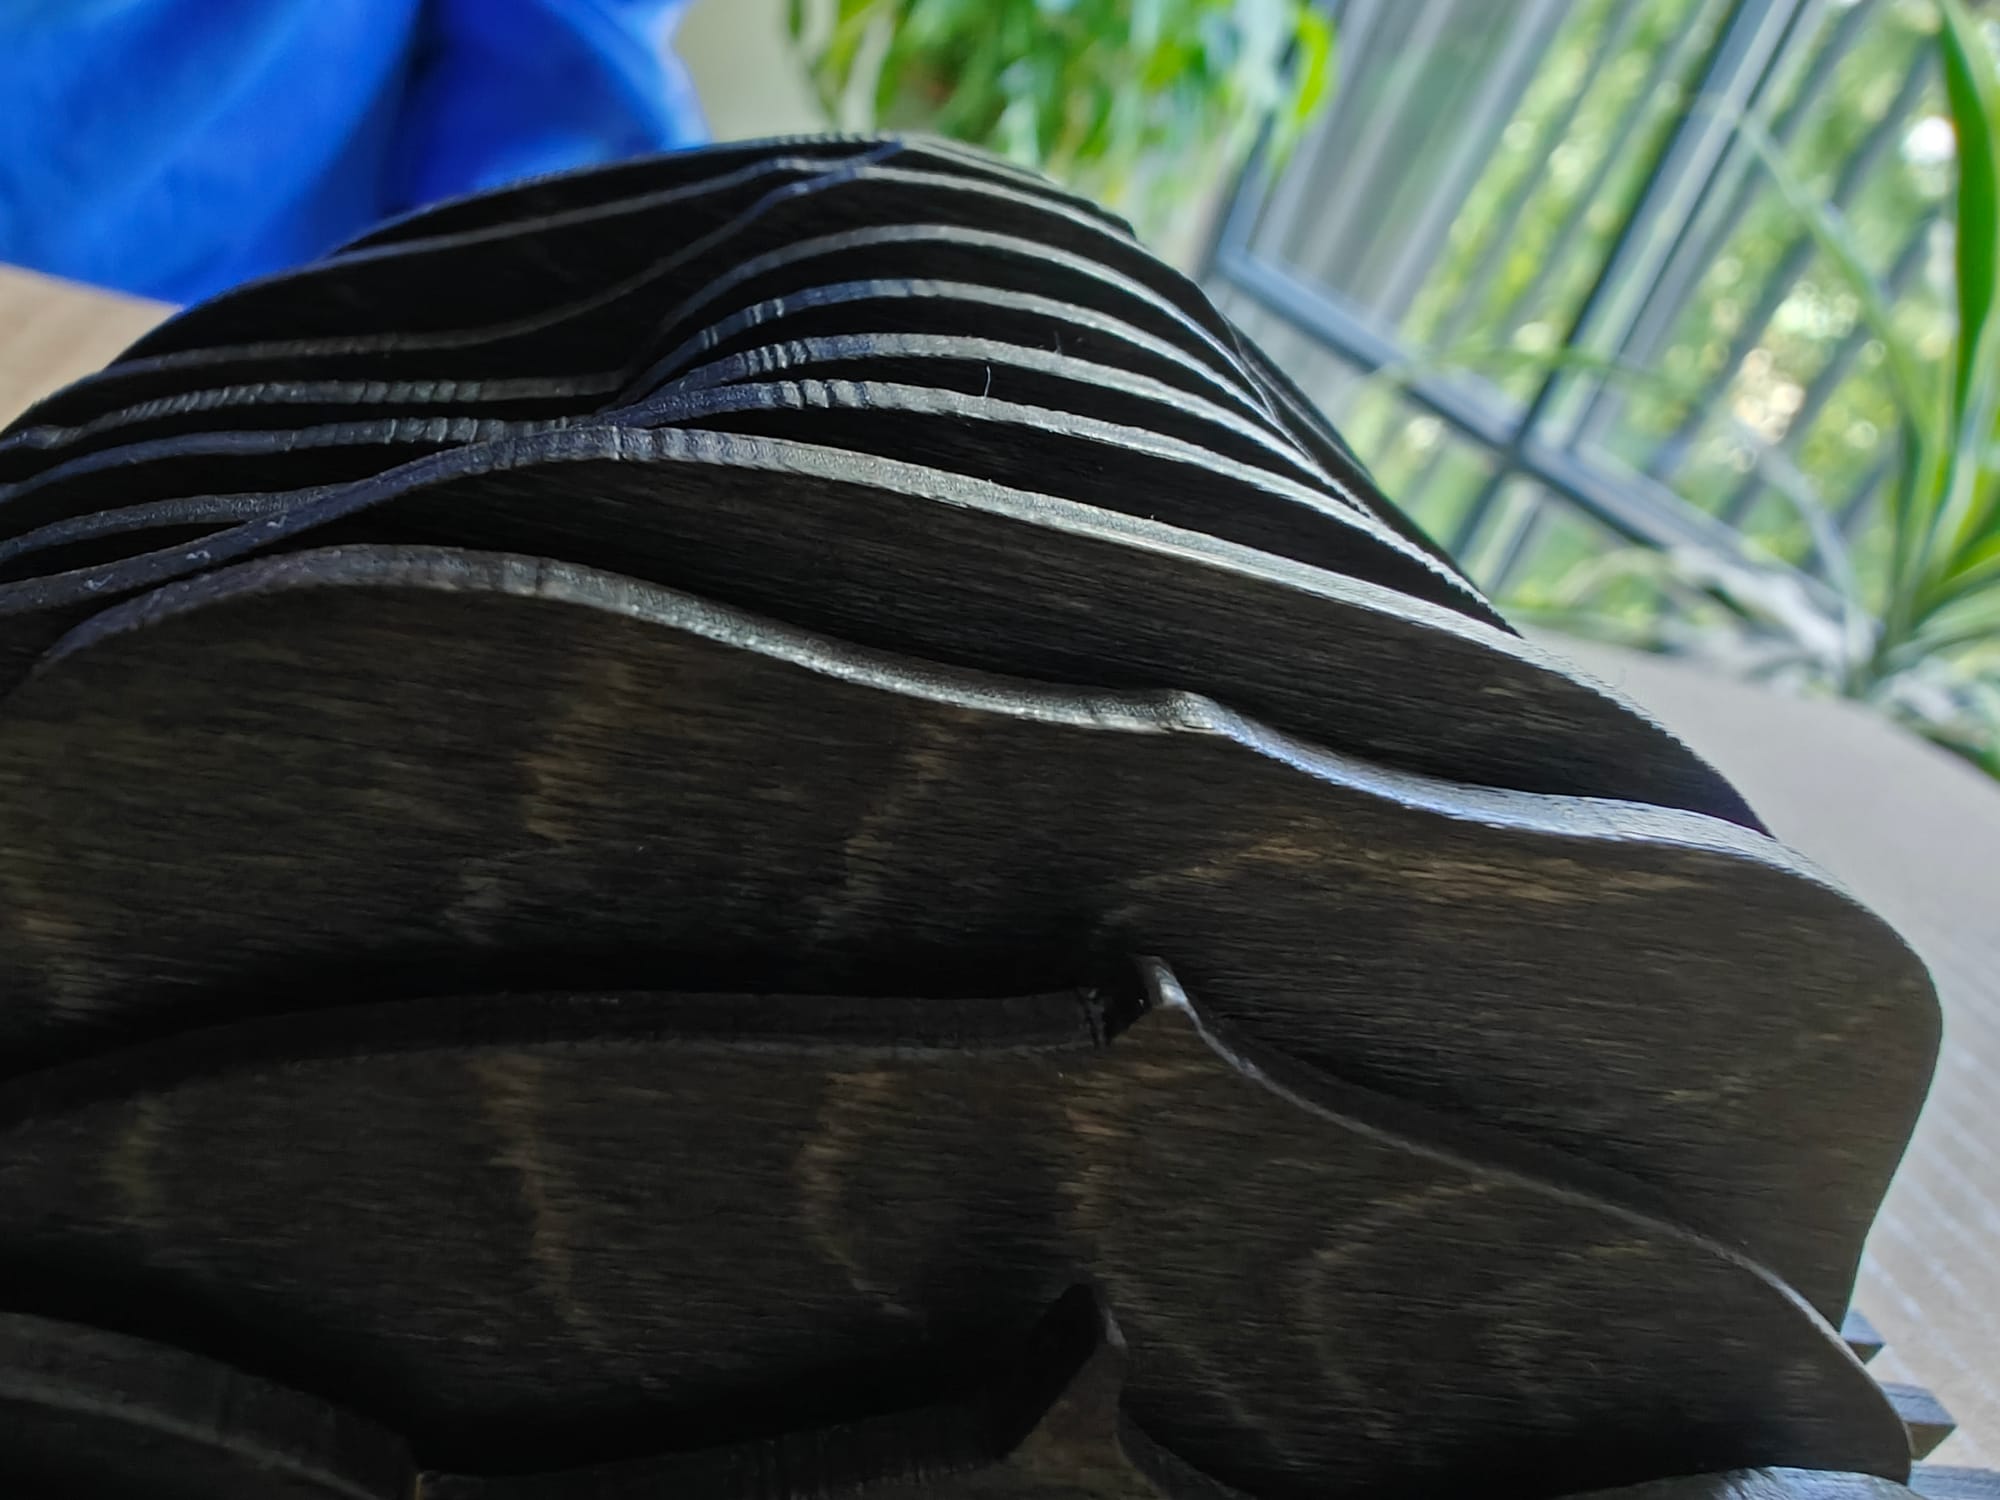
But we're not savages. This thing needed finish. So I sanded, dyed, waxed and buffed it; then glued it all up. Here are a few work-in-progress photos:

And here's the final result:

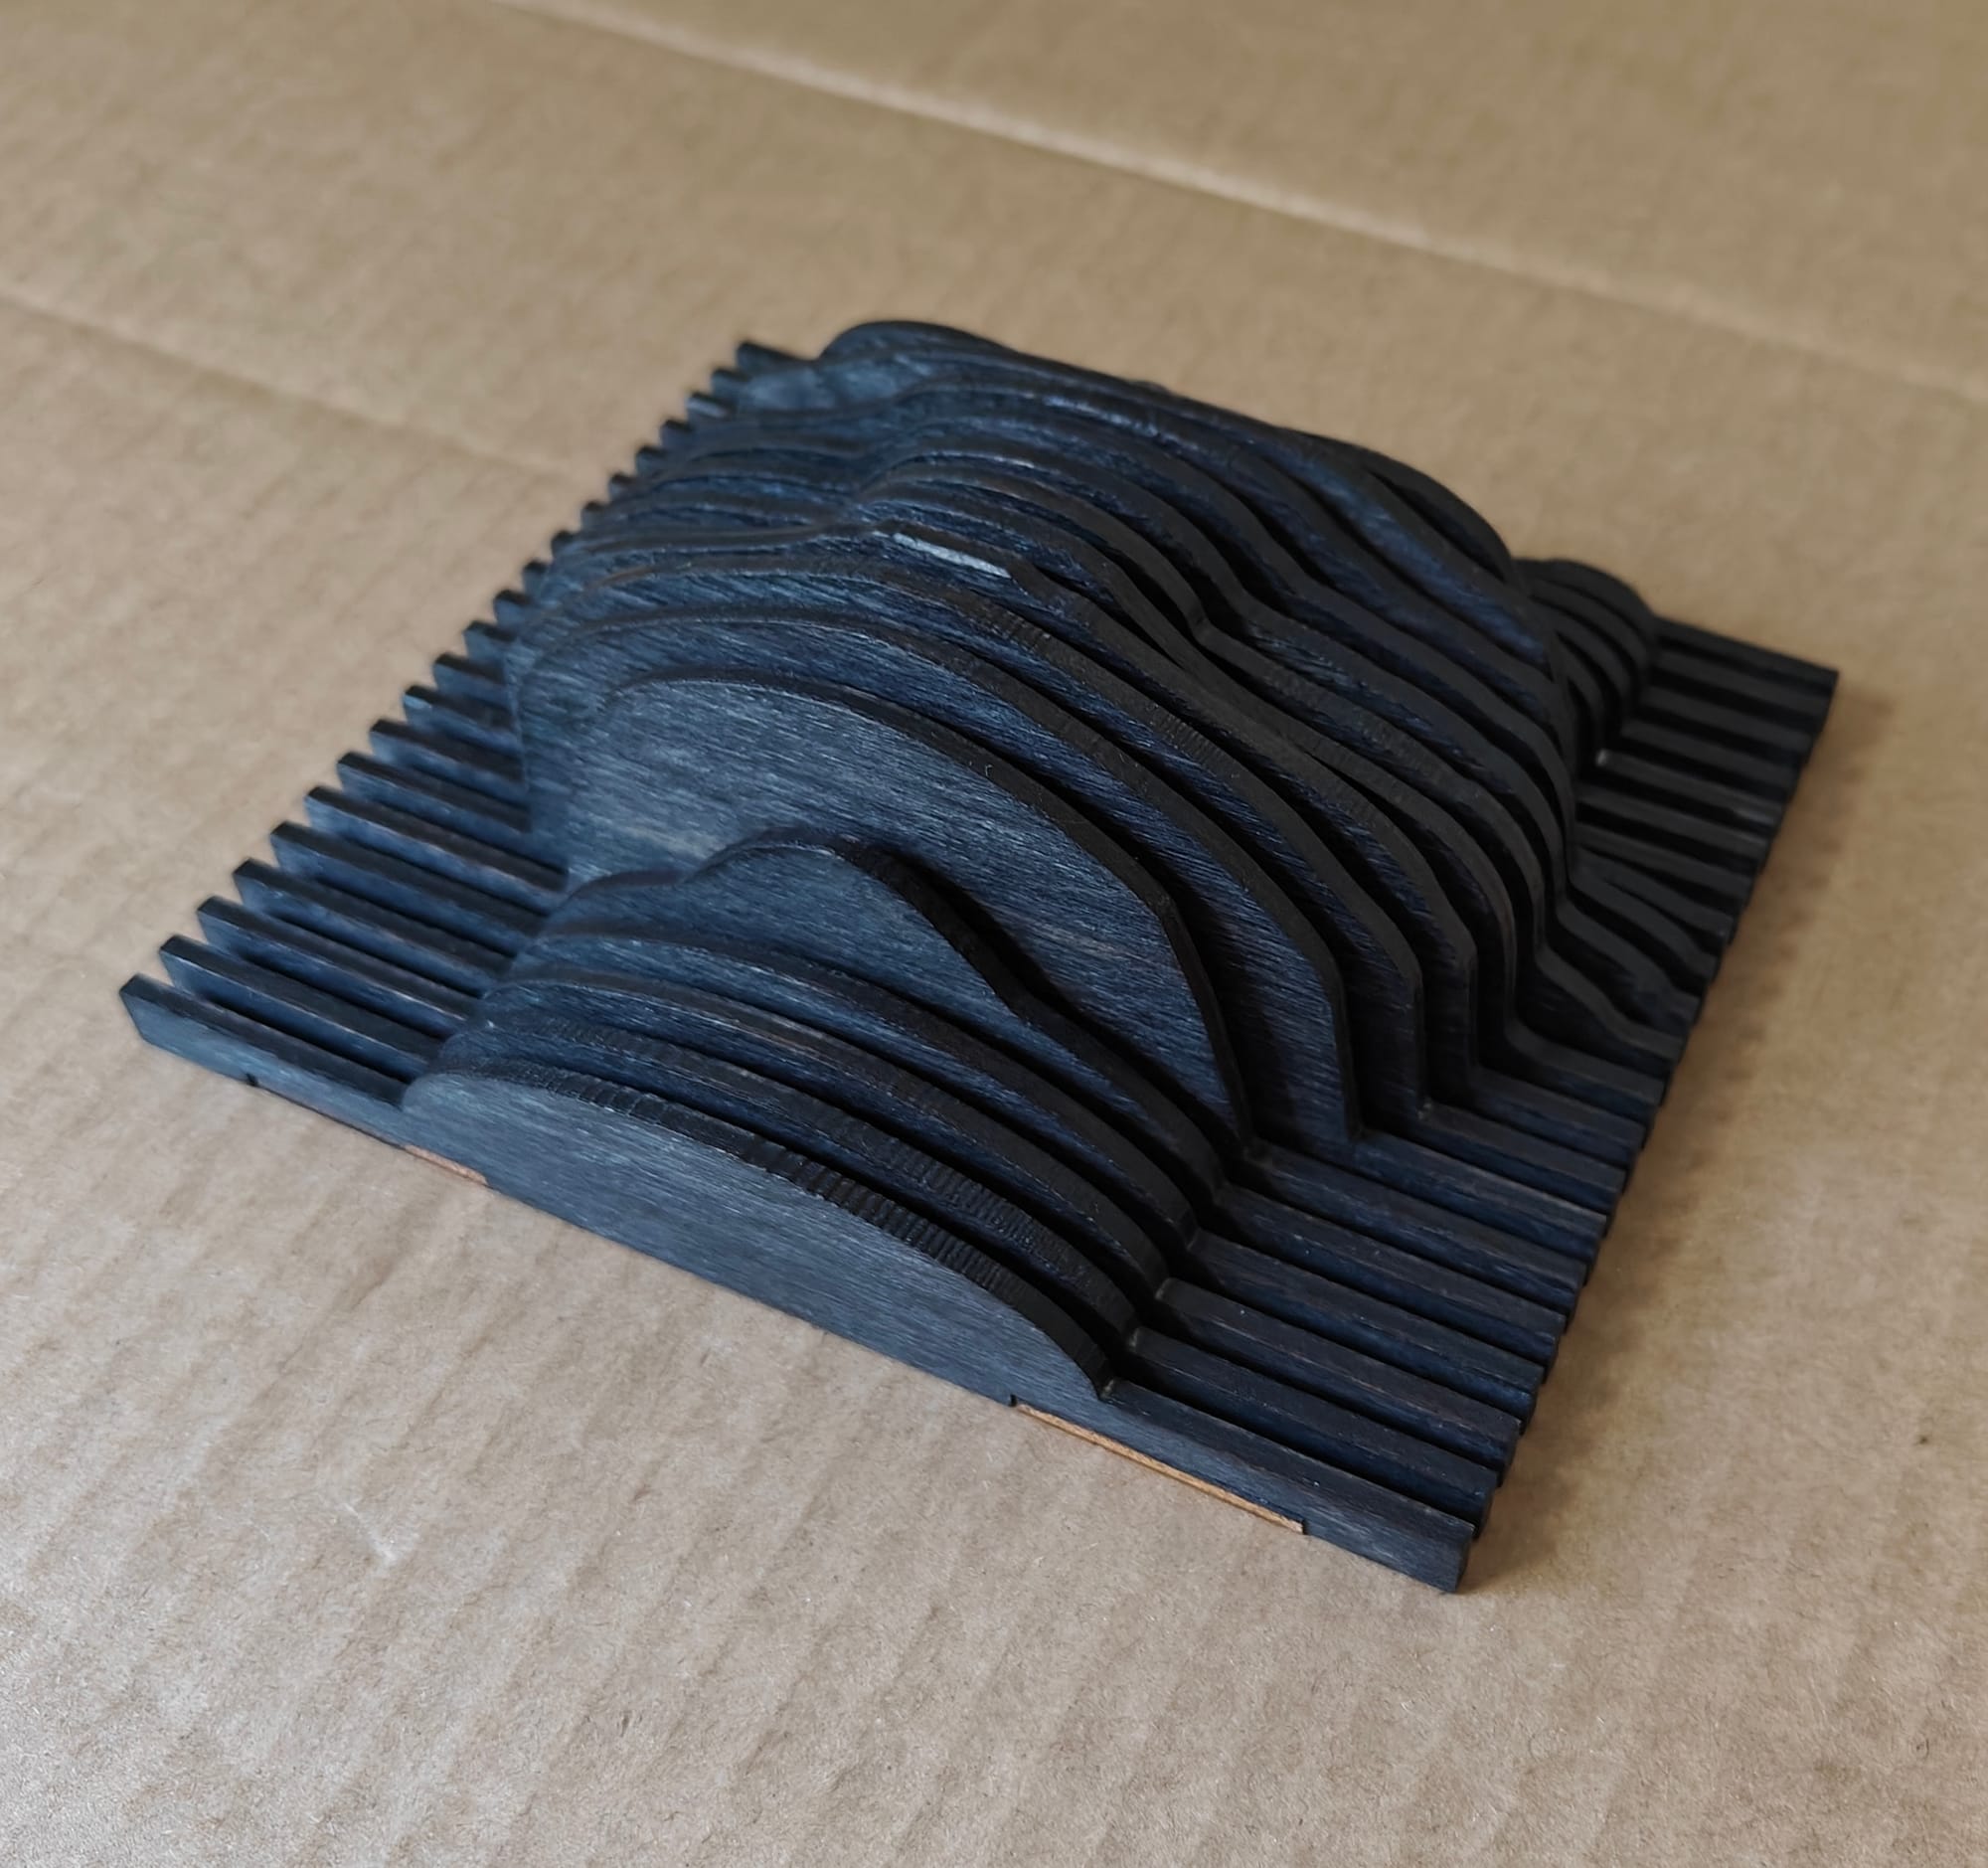
There are many imperfections, and I would do a lot differently next time – for example, the laser cut lines really show up without sanding them down, and the wax finish stuck in corners. But overall, I'm happy I did it and happy that my design worked.
The cost of laser cutting surprised me: for 8mm plywood (the thickest material the shop cuts and a ~2x larger sculpture) I got a quote of over 200€. And CNC'ing is not cheap either, I hear.
In any case, I would love to do it again, on a larger scale. Since I don't have a place to put one at home, please let me know if you'd like to make something. I'd love to make the drawings for you, and share the tiny amount of experience I now have creating this style of "parametric" sliced wall art.
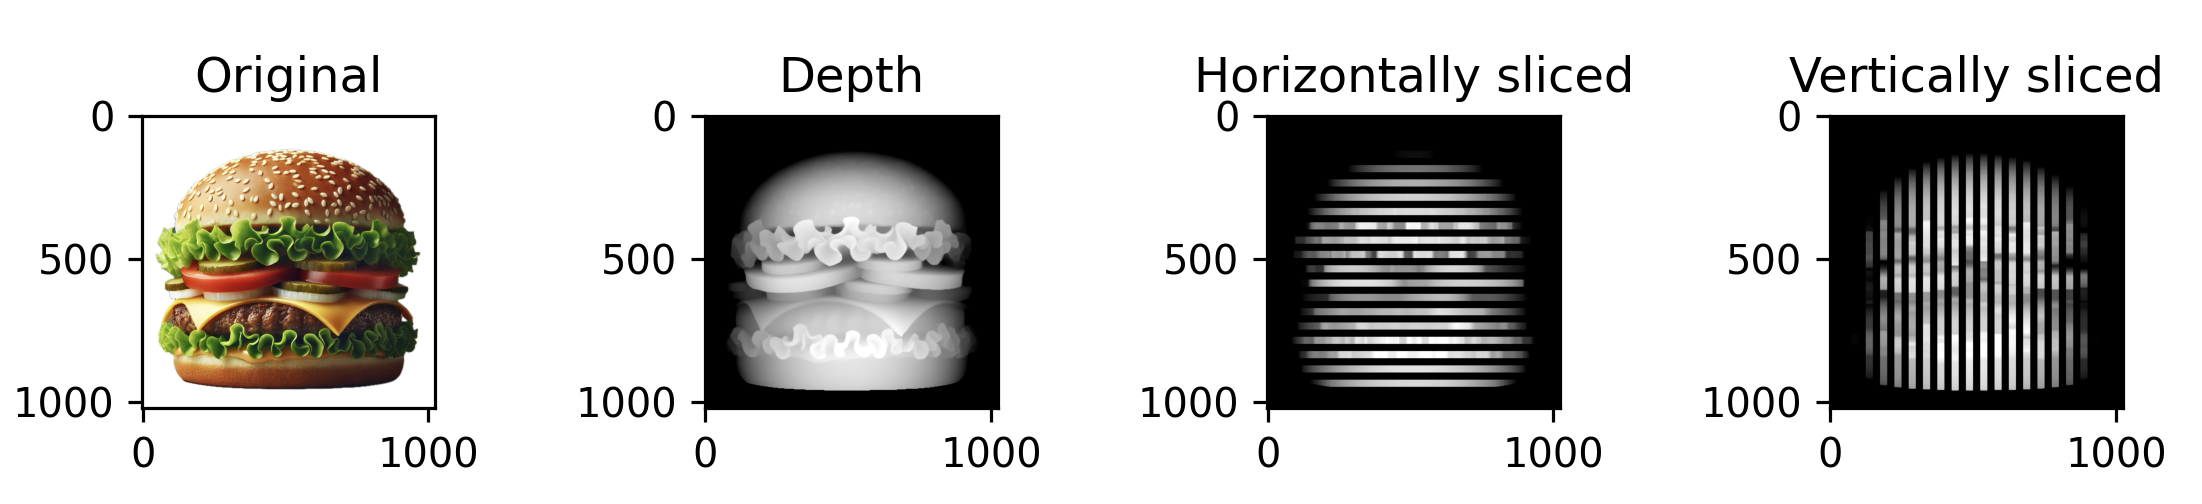
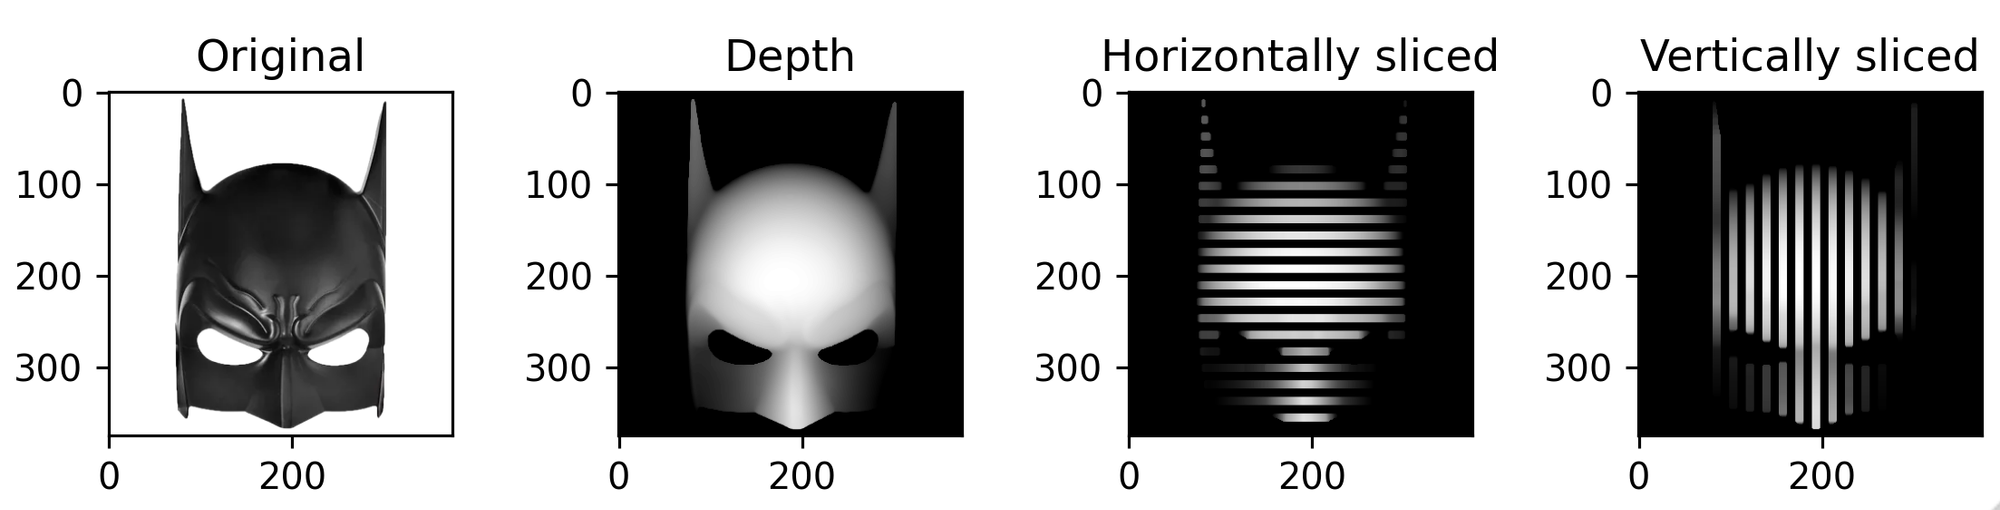
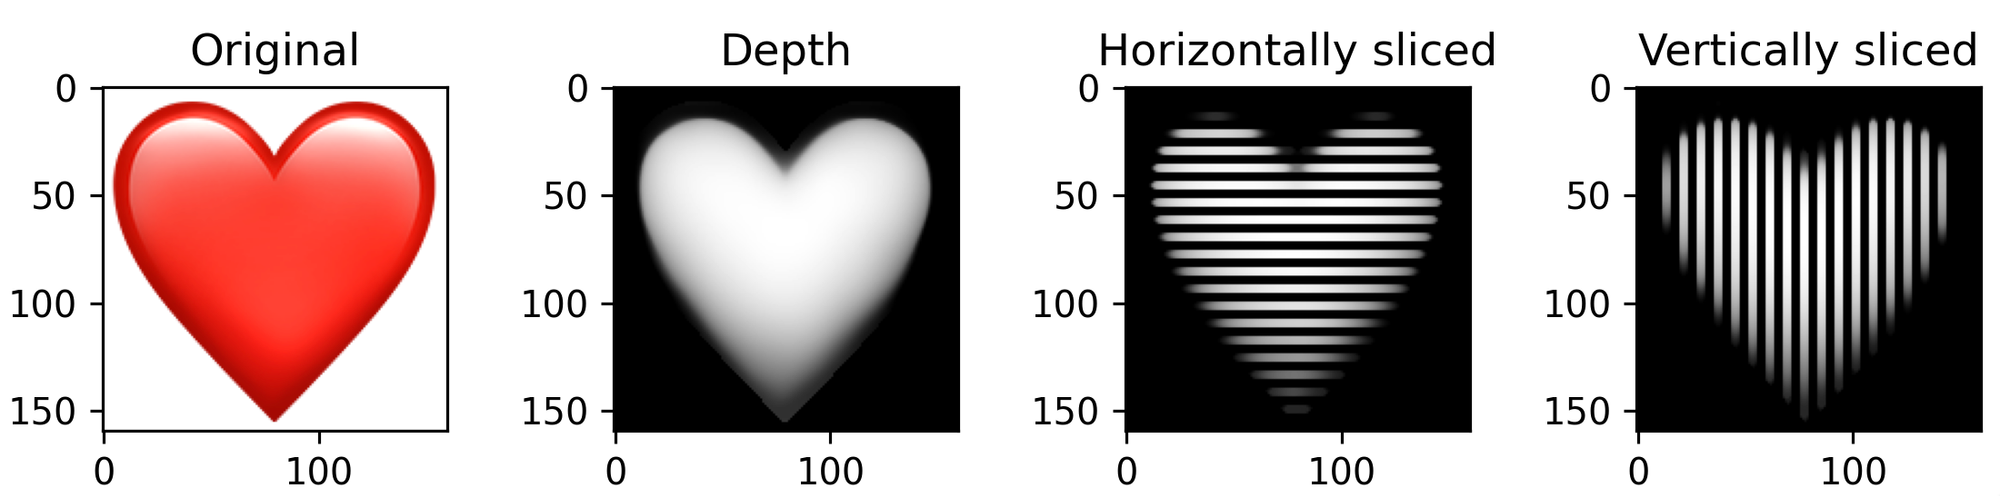
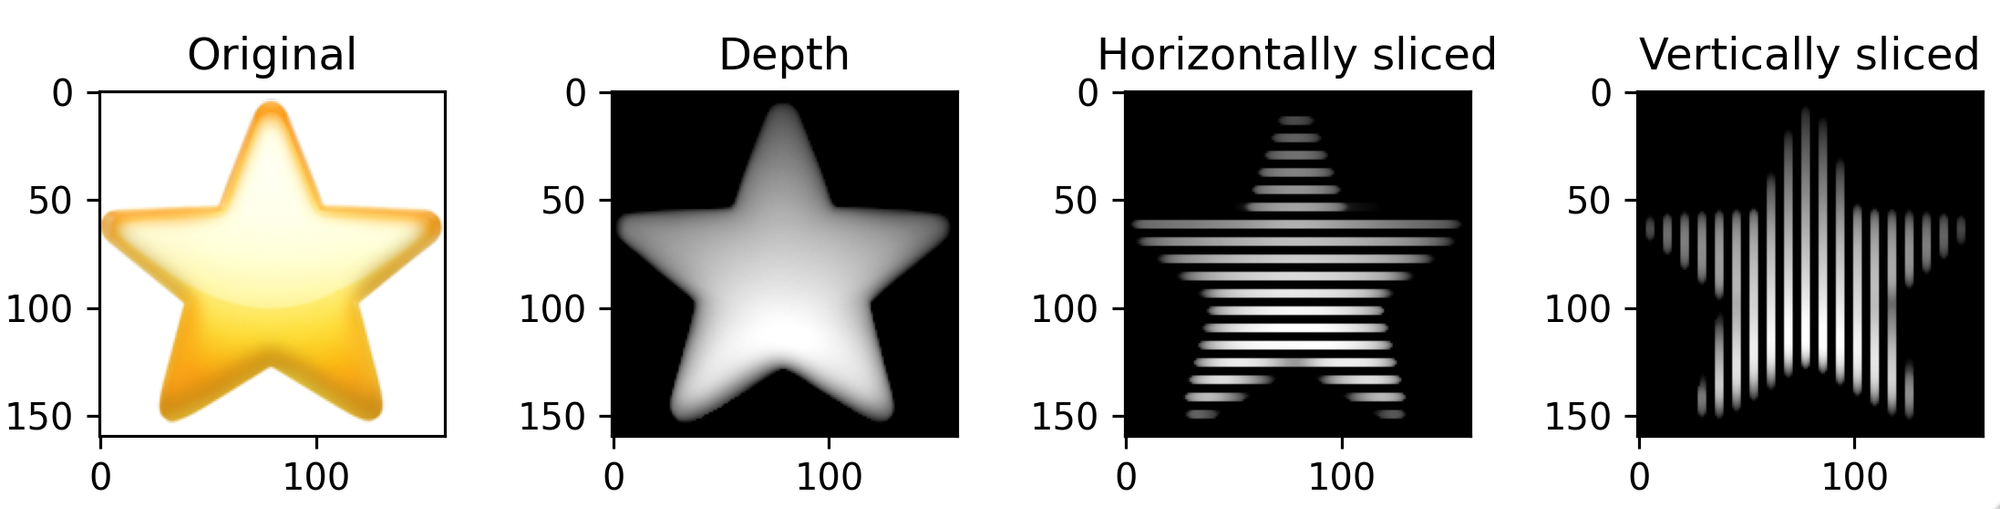
Here are a few other pretty random examples which I haven't manufactured, to show what's possible. It's clear the whole system is not great with fine details (though I think it could be with additional work).
Hamburger

Batman

Heart

Star

Tongue